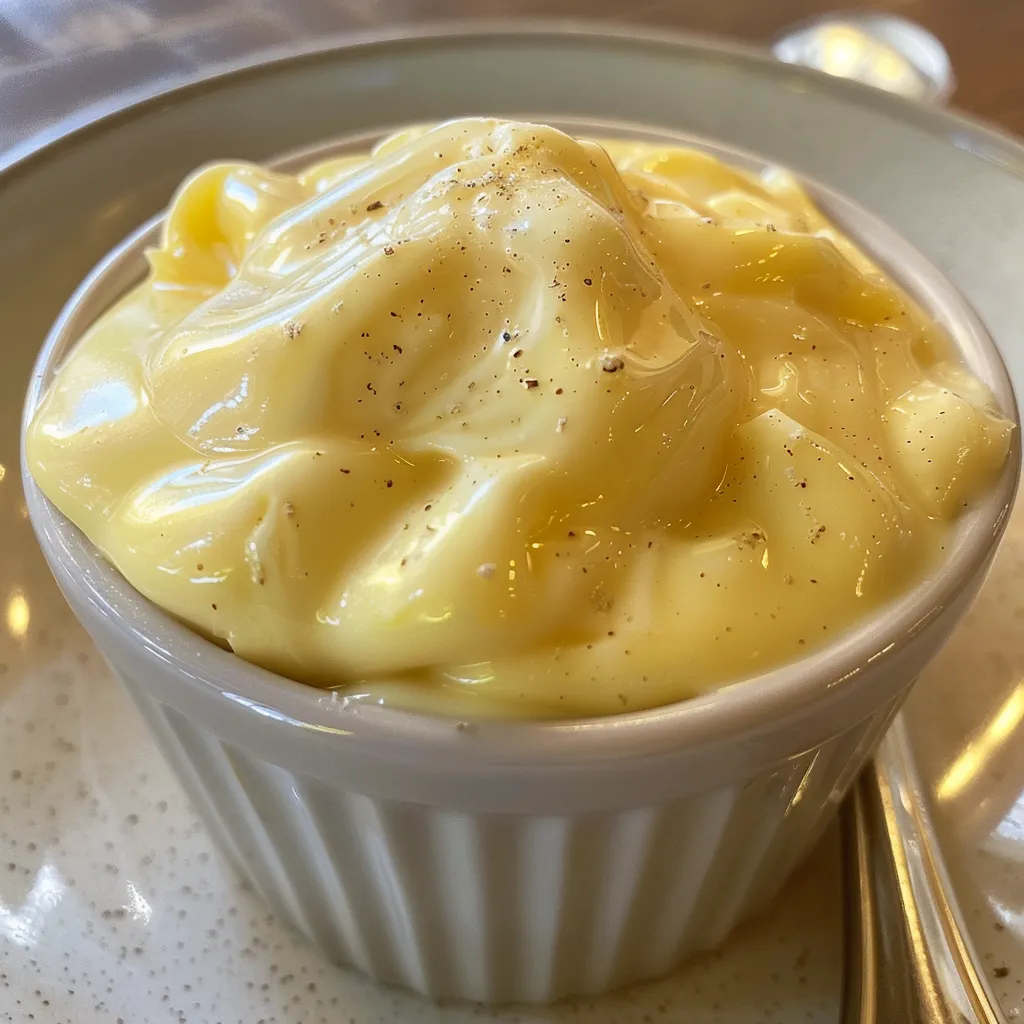
Unlock the Secrets of Creamy Vanilla Pudding
Welcome, fellow food adventurers! Today, we’re embarking on a delightful culinary journey to master the art of making creamy vanilla pudding from scratch—a dessert that brings joy, nostalgia, and a touch of comfort to any dining table. This easy pudding recipe is not just about mixing ingredients; it’s about creating a silky smooth, homemade vanilla pudding that will transport your taste buds to a place of bliss. Let’s dive into the world of flavors, textures, and the magic of cooking!
Why You’ll Love This Recipe
- Homemade Goodness: There’s nothing quite like the satisfaction of creating a dessert from scratch, using simple ingredients that you can trust.
- Versatile Base: This vanilla pudding serves as a fantastic base for countless desserts—think trifles, parfaits, or even as a filling for pastries!
- A Comforting Classic: Vanilla pudding is a nostalgic dessert that evokes memories of childhood and family gatherings, making it a perfect choice for any occasion.
- Quick and Easy: With just a handful of ingredients and less than 30 minutes of hands-on time, you can whip up this delightful treat.
- Customizable Flavors: Once you’ve mastered this recipe, feel free to experiment with flavors—add chocolate, caramel, or fruit purees to create your own unique dessert!
Ingredients You’ll Need
Let’s gather our ingredients for this exquisite vanilla pudding recipe. Each component plays a vital role in creating the ultimate creamy dessert.
- 2 cups whole milk: For a rich and velvety texture. You can substitute with almond or oat milk for a dairy-free option.
- 1/2 cup granulated sugar: This sweetener balances the flavors beautifully. Feel free to use coconut sugar or agave syrup for a healthier twist.
- 3 tablespoons cornstarch: The key thickening agent that ensures your pudding achieves that luxurious consistency.
- 1/4 teaspoon salt: Enhances the sweetness and balances the flavors.
- 3 large egg yolks: Provides richness and a deeper flavor profile. You can use flaxseed or chia seeds for a vegan alternative.
- 2 tablespoons unsalted butter: Adds a creamy mouthfeel. For a dairy-free version, use coconut oil or vegan butter.
- 2 teaspoons pure vanilla extract: The star ingredient that infuses your pudding with that heavenly vanilla flavor.
Step-by-Step Instructions
Ready to bring your vanilla pudding to life? Follow these simple steps to create a dessert that’s as delightful to make as it is to eat!
- In a medium saucepan, whisk together the sugar, cornstarch, and salt.
- Add the milk and whisk until smooth and well combined.
- Place the saucepan over medium heat and cook, stirring constantly, until the mixture begins to thicken and comes to a gentle boil, about 8-10 minutes.
- In a small bowl, lightly beat the egg yolks.
- Slowly add about 1/2 cup of the hot milk mixture to the egg yolks, whisking constantly to temper the eggs.
- Pour the tempered egg mixture back into the saucepan, whisking constantly.
- Continue cooking over medium heat, stirring constantly, until the pudding thickens and coats the back of a spoon, about 2-3 minutes.
- Remove from heat and stir in the butter and vanilla extract until the butter is completely melted and incorporated.
- Pour the pudding through a fine-mesh strainer into a bowl to remove any lumps.
- Cover the surface of the pudding with plastic wrap, pressing it directly onto the surface to prevent a skin from forming.
- Refrigerate for at least 2 hours until completely chilled and set.
- Serve cold, optionally topped with whipped cream or fresh berries.
Pro Tips for Perfect Pudding
Want to elevate your pudding game? Here are some expert tips to ensure your dessert turns out perfectly every time:
- Whisk consistently: Stirring constantly helps prevent lumps and ensures even cooking.
- Don’t rush the heat: Cooking over medium heat allows the pudding to thicken gradually, achieving the right texture.
- Tempering is key: Slowly introducing the hot mixture to the egg yolks prevents them from scrambling.
- Strain for smoothness: Passing the pudding through a strainer removes any lumps, resulting in a silky finish.
- Cover properly: Pressing plastic wrap directly onto the surface of the pudding prevents a skin from forming.
- Chill completely: Allowing the pudding to chill for at least 2 hours ensures it sets perfectly.
- Flavor variations: Experiment with extracts like almond or lemon for a twist on the classic vanilla flavor.
- Serving ideas: Top with fresh fruits, chocolate shavings, or a sprinkle of cinnamon for added flair.
Common Mistakes and Troubleshooting
Even the best chefs can experience hiccups in the kitchen! Here’s how to troubleshoot common issues:
- Lumpy pudding: If your pudding turns out lumpy, be sure to strain it through a fine-mesh strainer before chilling.
- Pudding too thin: If it doesn’t thicken enough, try cooking it a bit longer over medium heat while stirring constantly.
- Pudding too thick: You can whisk in a bit of milk after it’s chilled to loosen the texture.
- Skin formation: Always press plastic wrap directly onto the surface of the pudding to avoid this.
Delicious Variations to Try
Feeling adventurous? Here are some delightful variations to make your vanilla pudding experience even more exciting:
- Chocolate Pudding: Add 1/2 cup of unsweetened cocoa powder to the dry ingredients for a rich chocolate version.
- Coconut Cream Pudding: Substitute half of the milk with coconut milk and add shredded coconut for a tropical twist.
- Fruit-Infused Pudding: Stir in fresh fruit puree, like strawberry or mango, into the pudding after cooking for an extra flavor burst.
- Matcha Pudding: Incorporate 1-2 teaspoons of matcha powder into the dry ingredients for a unique green tea flavor.
Storage and Make-Ahead Instructions
Want to enjoy your pudding later? Here’s how to store and keep it fresh:
- Refrigeration: Store the pudding in an airtight container in the refrigerator for up to 3-4 days.
- Freezing: While not ideal, you can freeze the pudding for up to 2 months. Thaw in the refrigerator and whisk well before serving.
- Make-ahead: This pudding can be made a day in advance, making it a perfect dessert for gatherings or special occasions.
Frequently Asked Questions
Got questions? Here are some common queries about vanilla pudding:
- Can I use non-dairy milk? Yes! Almond, soy, or oat milk can be used instead of whole milk for a delicious dairy-free option.
- How do I make my pudding thicker? Ensure you cook the pudding long enough and consider adding a bit more cornstarch if needed.
- Can I add flavors to the pudding? Absolutely! Feel free to experiment with different extracts or purees for unique flavors.
- Can I make pudding without eggs? Yes! You can use cornstarch or other thickeners to create a delicious egg-free pudding.
- How long does homemade pudding last? It can be stored in the refrigerator for up to 3-4 days.
- Can I freeze vanilla pudding? While possible, it’s best enjoyed fresh. Thaw in the refrigerator before serving.
- What if my pudding is too sweet? You can mix in a bit of cream or milk to balance the sweetness.
- What toppings go best with vanilla pudding? Whipped cream, fresh berries, or a drizzle of chocolate sauce are all fantastic options!
Nutritional Tips and Dietary Adaptations
For those watching their nutritional intake, here are some modifications you can consider:
- Sugar alternatives: Use stevia or monk fruit sweetener for a lower-calorie pudding.
- Low-fat options: Replace whole milk with low-fat or skim milk for a lighter dessert.
- Gluten-free: This recipe is naturally gluten-free, making it a great option for those with dietary restrictions.
- Vegan adaptations: Use non-dairy milk, vegan butter, and substitute eggs with a thickener like cornstarch or silken tofu.
Essential Equipment for Making Pudding
Having the right tools can make your pudding-making experience smoother:
- Medium saucepan: Essential for cooking your pudding mixture evenly.
- Whisk: A good whisk is crucial for blending the ingredients without lumps.
- Fine-mesh strainer: Use this to achieve a perfectly smooth pudding.
- Mixing bowls: For combining ingredients and tempering the eggs.
Serving Suggestions
Once your creamy vanilla pudding is ready, here are some delightful ways to serve it:
- As a standalone dessert: Serve in individual cups topped with whipped cream for a classic presentation.
- Layered in parfaits: Layer pudding with granola and fresh fruit for a beautiful and delicious parfait.
- In a pie: Use as a filling in a graham cracker crust topped with meringue for a delicious twist.
- With cookies: Pair with homemade cookies for a delightful dessert platter.
In conclusion, crafting your own homemade vanilla pudding is not just about the end product; it’s about the journey of discovery, flavor, and connection to the culinary world around us. Each spoonful of this creamy dessert is a reminder that cooking is about bringing people together and sharing joy. So, gather your ingredients, call your loved ones, and enjoy the delightful process of making and savoring this timeless treat!
Creamy Homemade Vanilla Pudding Recipe from Scratch
Ingredients
Dairy
- 2 cups whole milk
- 1/2 cup granulated sugar
- 3 tablespoons cornstarch
- 1/4 teaspoon salt
- 3 large egg yolks
- 2 tablespoons unsalted butter
- 2 teaspoons pure vanilla extract
Instructions
- Whisk sugar, cornstarch, and salt in a saucepan.
- Add milk and cook over medium heat, stirring until thickened and boiling, about 8-10 minutes.
- Beat egg yolks lightly, then temper by adding hot milk gradually, whisking constantly.
- Return mixture to saucepan, cook until thickened, then remove from heat and stir in butter and vanilla.
- Strain pudding into a bowl, cover with plastic wrap pressed onto surface, and refrigerate for at least 2 hours.