An Invitation to a Flavorful Journey
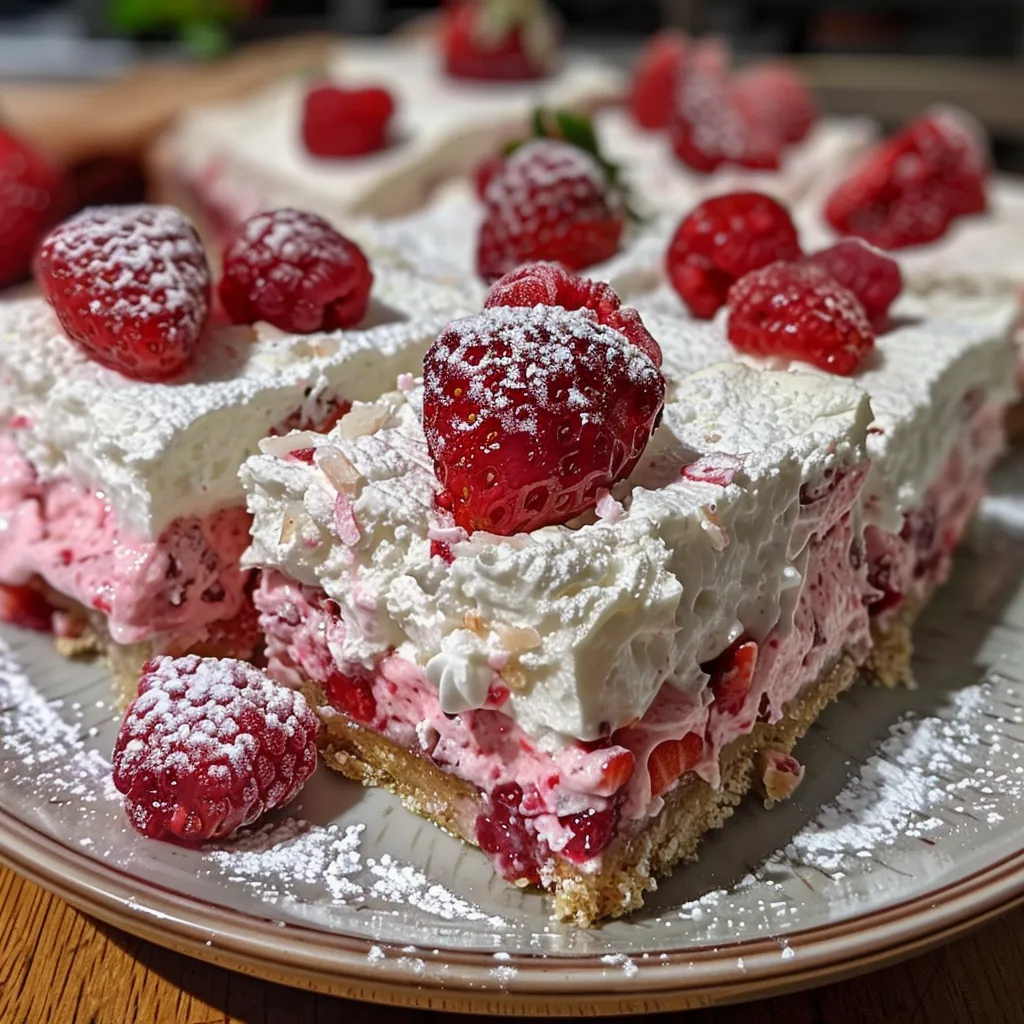
Welcome to a world where every bite tells a story! Join me, Jack, as we explore the delightful realm of No-Bake Berry and Vanilla Cream Squares—a dessert that effortlessly captures the essence of summer with its vibrant colors and refreshing flavors. This no-bake treat is not just a dessert; it’s a celebration of fresh berries and creamy vanilla that will transport you to sun-kissed afternoons and joyful gatherings. Ready to embark on this culinary adventure? Let’s dive into the recipe!
Why You’ll Love This Recipe
This recipe is not just about satisfying your sweet tooth; it’s about the experience and joy it brings. Here are five compelling reasons why you’ll adore these berry and vanilla cream squares:
- No-Bake Delight: Perfect for warm days, this dessert requires no oven, making it easy to whip up without heating your kitchen.
- Quick and Easy: With simple steps and minimal ingredients, you can create a stunning dessert in no time!
- Fresh Flavor Explosion: The combination of juicy berries and smooth vanilla cream creates a refreshing burst of flavor in every bite.
- Versatile & Customizable: Whether you prefer strawberries, blueberries, or a mix, this recipe allows you to tailor it to your taste.
- Impressive Presentation: The colorful layers of berries and cream are not only delicious but also visually stunning, making it a showstopper at any gathering.
Gathering Your Ingredients for Creamy Berry Bliss
Let’s take a closer look at the ingredients that will bring this delightful dessert to life. Each component plays a crucial role in achieving the perfect texture and flavor.
- Fresh or Frozen Berries: 450g (16 oz) of your choice—strawberries, blueberries, or mixed berries work beautifully.
- Sugar: 40g (3 tablespoons) to enhance the natural sweetness of the berries.
- Cornstarch: 45g (⅓ cup) for thickening the berry layer, ensuring it holds its shape without baking.
- Water: 50-60ml (3-4 tablespoons) to help dissolve the cornstarch.
- Heavy Cream: 450ml (1¾ cups) with 15-20% fat for a rich and luscious vanilla cream layer.
- Vanilla Extract: 1 teaspoon for that signature creamy flavor.
- Desiccated Coconut: ½ cup to add a delightful texture and aroma to the final product.
- Vegetable Oil: For greasing the pan, ensuring easy removal of the squares.
Crafting Your No-Bake Berry Cheesecake Bars: Step-by-Step
Now that you have your ingredients ready, let’s get into the exciting part—making these delectable squares! Follow these step-by-step instructions for a foolproof dessert.
- Prepare the Berry Layer: In a saucepan, combine the berries and sugar. Heat gently until the berries release their juices.
- Strain the Mixture: Use a fine mesh sieve to strain the mixture, removing any seeds and leaving you with a smooth berry puree.
- Thicken the Berry Mixture: In a small bowl, mix cornstarch with water until smooth. Gradually add this to the berry mixture, cooking for 3-5 minutes until it thickens.
- Set the Berry Layer: Lightly grease a 15x15cm (6×6 inch) pan. Pour the thickened berry mixture into the pan and allow it to cool completely.
- Prepare the Cream Layer: In another saucepan, combine heavy cream, sugar, and vanilla extract. Mix cornstarch with a small amount of cold cream, then add to the cream mixture.
- Cook the Cream Mixture: Stir constantly and cook for 3-5 minutes until thickened.
- Combine Layers: Pour the creamy mixture over the cooled berry layer, spreading it evenly.
- Chill: Refrigerate for 2-3 hours or until firm, ensuring the layers set beautifully.
- Cut and Serve: Once firm, cut into 2.5cm (1 inch) squares and roll in a mixture of cornstarch and coconut for a delightful finish.
Pro Tips for Perfect No-Bake Cheesecake Bars Every Time
To ensure your berry and vanilla cream squares turn out perfectly, consider these expert insights:
- Room Temperature Ingredients: Make sure your cream cheese and heavy cream are at room temperature for a smoother filling.
- Don’t Rush the Cooling: Allow the berry layer to cool completely before adding the cream layer to prevent mixing.
- Use Quality Ingredients: Fresh, high-quality berries and pure vanilla extract make a noticeable difference in flavor.
- Chill Thoroughly: Give your bars ample time in the refrigerator; this helps them set properly and enhances the flavors.
- Experiment with Flavors: Feel free to add zest from citrus fruits or spices like cinnamon for a twist!
- Keep It Clean: Use a sharp knife to cut the squares for clean edges.
- Garnish for Appeal: Top with fresh berries or a drizzle of berry compote for a beautiful presentation.
- Proper Storage: Store in an airtight container in the refrigerator to maintain freshness.
Common Pitfalls and Troubleshooting
Even the best chefs encounter challenges. Here are some common mistakes to avoid while making your No-Bake Berry and Vanilla Cream Squares:
- Runny Berry Layer: Ensure the cornstarch is thoroughly mixed and cooked long enough to achieve the desired thickness.
- Too Soft Cream Layer: If your mixture doesn’t thicken as expected, cook it a little longer while stirring constantly.
- Crust Too Crumbly: Make sure the crust mixture is well combined and pressed firmly into the pan.
- Overmixing: Avoid overmixing the cream, as this can lead to a grainy texture. Mix just until combined.
Delicious Variations to Try
Feel free to get creative! Here are some variations to consider for your No-Bake Berry and Vanilla Cream Squares:
- Chocolate Lovers: Add cocoa powder to the cream layer for a chocolatey twist.
- Nutty Delight: Incorporate crushed nuts into the crust for added texture and flavor.
- Fruit Explosion: Mix different fruits like peaches or raspberries for a colorful medley.
- Coconut Cream: Replace some of the heavy cream with coconut cream for a tropical touch.
Storage and Make-Ahead Instructions
These No-Bake Berry and Vanilla Cream Squares are perfect for preparing ahead of time:
- Refrigerator Storage: Store in an airtight container in the fridge for up to 4 days.
- Freezing: You can freeze the squares for up to 1 month. Just remember to wrap them tightly to prevent freezer burn.
- Thawing: Thaw in the refrigerator overnight before serving for best results.
Frequently Asked Questions
Here are some common questions and their answers:
- Can I use fresh berries in the filling instead of the topping? Absolutely! Fresh berries can be folded into the cream layer for added flavor.
- Can I make a gluten-free crust? Yes! Substitute graham cracker crumbs with gluten-free alternatives or ground nuts.
- How long do these cheesecake bars last in the refrigerator? They can stay fresh for about 4 days in an airtight container.
- Can I freeze these No-Bake Berry Cheesecake Bars? Yes, they freeze well! Just ensure they are wrapped properly.
- What can I use if I don’t have cornstarch? You can substitute it with arrowroot or tapioca starch.
- Can I add more sugar to the cream layer? Certainly! Adjust the sugar according to your taste preference.
- What’s the best way to serve these bars? You can serve them chilled, garnished with extra berries or a drizzle of sauce.
- Is this recipe suitable for kids? Yes! It’s a fun and safe dessert for children to help make and enjoy.
Nutritional Tips and Dietary Adaptations
For those watching their diet or with specific dietary needs, here are some tips:
- Reduce Sugar: Use less sugar or substitute with natural sweeteners like honey or maple syrup.
- Dairy-Free Option: Replace heavy cream with coconut cream or a dairy-free whipped topping.
- Low-Calorie Version: Use light cream cheese and whipped topping to reduce calories.
- Whole Foods: Opt for organic ingredients for a healthier choice.
Equipment Recommendations
Having the right tools makes all the difference in your cooking experience. Here are some essentials for making these squares:
- Non-Stick Pan: A 15x15cm (6×6 inch) non-stick pan is ideal for easy removal.
- Mixing Bowls: A set of mixing bowls for combining ingredients smoothly.
- Whisk: A whisk is essential for mixing the cream and ensuring it’s fluffy.
- Fine Mesh Sieve: Perfect for straining the berry mixture to achieve a smooth texture.
Serving Suggestions
To elevate your presentation and flavor, consider these serving ideas:
- Garnish with Fresh Berries: Top each square with fresh berries for a burst of color and flavor.
- Drizzle with Berry Compote: A homemade berry compote adds a sweet and tangy kick.
- Pair with Whipped Cream: Add a dollop of whipped cream for extra creaminess.
- Serve with a Side of Mint: A sprig of mint adds freshness and an appealing aesthetic.
Conclusion: A Sweet Adventure Awaits
There you have it—the ultimate guide to creating No-Bake Berry and Vanilla Cream Squares that are sure to impress friends and family alike! This recipe encapsulates the joy and essence of summer, inviting you to explore flavors that connect us all. So grab your ingredients, follow the steps, and let the delicious journey begin. Remember, cooking is not just about food; it’s about bringing people together, creating memories, and sharing stories. Happy baking, and may your kitchen be filled with laughter and sweetness!
No-Bake Berry and Vanilla Cream Squares
Ingredients
Berry Layer
- 450 g fresh or frozen strawberries or mixed berries
- 40 g sugar
- 45 g cornstarch
- 50 ml water (3-4 tablespoons)
Cream Layer
- 450 ml heavy cream
- 50 g sugar
- 1 tsp vanilla extract
- 45 g cornstarch
- 0.25 cup desiccated coconut
Other
- vegetable oil (for greasing)
Instructions
- Combine berries and sugar in a saucepan and heat until juice is released.
- Strain to remove seeds, then mix cornstarch with water and add to berry mixture. Cook until thickened.
- Lightly grease a 15x15cm (6x6 inch) pan, pour berry layer, and cool completely.
- Combine cream, sugar, vanilla, and cornstarch; cook until thickened, then pour over cooled berry layer and refrigerate.
- Refrigerate for 2-3 hours until firm, then cut into 2.5cm (1 inch) squares and roll in coconut mixture.