

Welcome to the Adventure of Baking: Crafting Camila’s Soft Tall Sandwich Loaves
There’s something magical about the aroma of freshly baked bread wafting through your kitchen. Today, we embark on a culinary journey to explore Camila’s delightful sandwich bread recipe, perfect for creating soft, tall loaves that elevate any meal. Whether you’re crafting a classic sandwich, toasting it for breakfast, or serving it alongside a hearty soup, this recipe will become a staple in your home. So roll up your sleeves, and let’s dive into the art of bread-making!
Why You’ll Love This Recipe
When it comes to homemade bread, this sandwich bread recipe shines with unique qualities. Here are just a few reasons to love it:
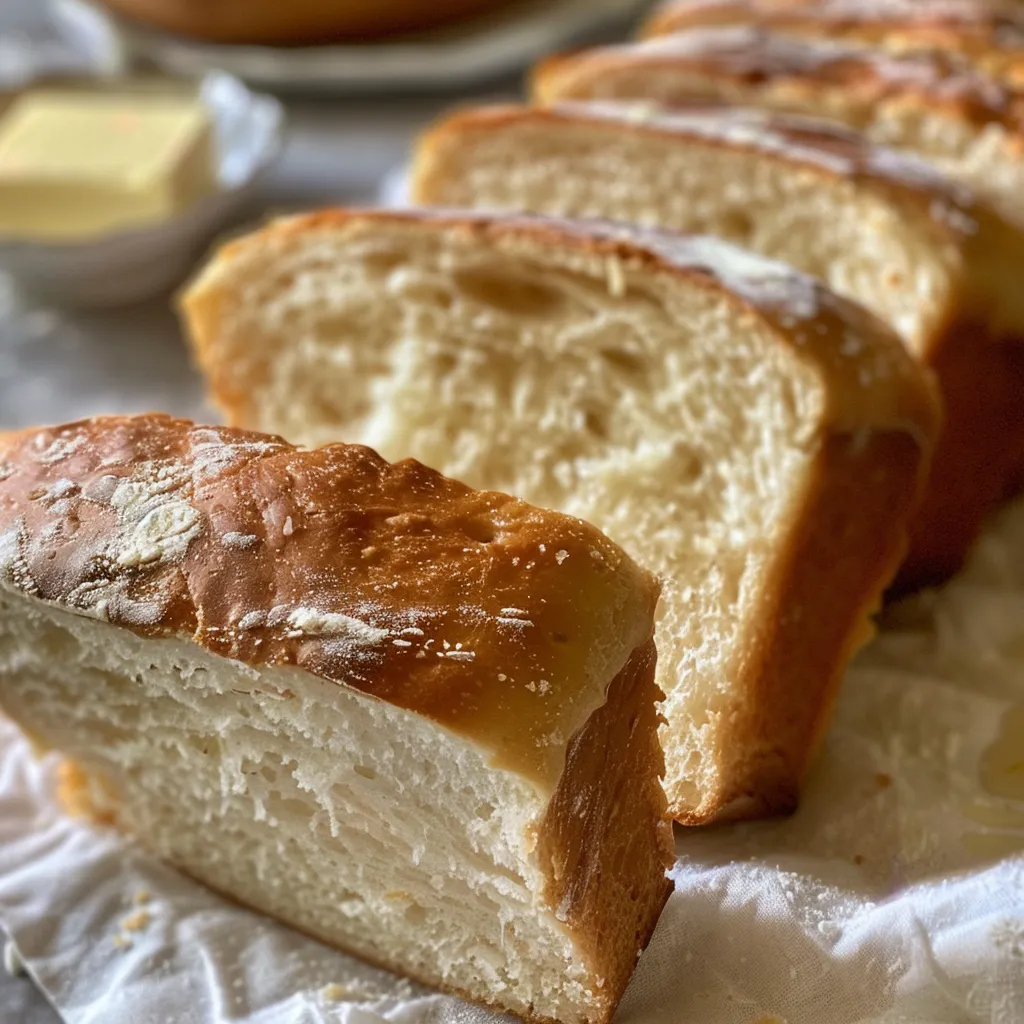
- Irresistibly Soft Texture: The combination of bread flour and milk creates a loaf that is soft and tender, perfect for sandwiches or toast.
- Simple Ingredients: Using everyday pantry staples makes this recipe accessible and easy to follow.
- Versatile and Customizable: This bread works beautifully for a variety of meals, from classic PB&J to gourmet sandwiches.
- Perfect for Meal Prep: You can make multiple loaves at once and freeze them for later use, ensuring you always have fresh bread on hand.
- A Fun Family Activity: Involve the kids in the bread-making process. Kneading dough is a sensory experience that they’ll love!
Ingredients for Camila’s Sandwich Bread
Gathering the right ingredients is crucial for success in baking. Here’s what you’ll need for this sandwich bread recipe:
- Bread Flour: 6½ cups—provides structure and chewiness.
- Lukewarm Water: 2 cups (or swap 1 cup whole milk + 1 cup water)—helps activate the yeast.
- Unsalted Butter: 5 tablespoons softened—adds richness and flavor.
- Honey: 2 tablespoons—adds sweetness and helps with browning.
- Instant Yeast: 3 teaspoons (or active dry yeast—same amount)—leavens the bread.
- Sea Salt: 3 teaspoons—enhances flavor and regulates yeast activity.
- Melted Butter: 1 tablespoon for brushing—gives a beautiful finish to the crust.
- Additional Butter: 1 tablespoon for greasing the tins—prevents sticking.
How to Make Sandwich Bread at Home

Now that you have your ingredients ready, let’s walk through the steps of making this delicious sandwich bread:
- **Prepare the Tins**: Grease two loaf tins and set them aside.
- **Activate the Yeast**: In a large bowl, whisk together the lukewarm water and honey. Add the yeast and let it sit for about a minute until it becomes frothy.
- **Mix the Dough**: Add the flour and sea salt to the yeast mixture. Stir with a sturdy spoon until a shaggy dough forms.
- **Knead the Dough**: Incorporate the softened butter and knead the dough by hand or with a stand mixer until smooth and elastic, about 8 to 10 minutes. The dough should feel soft and slightly tacky.
- **First Rise**: Shape the dough into a ball and place it in a lightly oiled bowl. Cover with a clean towel and let rise in a warm spot until it has doubled in size, approximately 2 hours.
- **Shape the Loaves**: Turn the dough out onto a lightly floured surface. Divide it into two equal pieces. Pat each piece into a rectangle that matches the width of your loaf tins, roll them up tightly, tuck the ends, and pinch the seams closed.
- **Second Rise**: Place the loaves seam side down in the prepared tins. Cover and let rise until the dough crowns over the rim of the tins, about 40 to 60 minutes.
- **Bake the Bread**: Preheat your oven to 375°F (190°C). Bake the loaves for 40 to 42 minutes until they are deep golden brown. Brush the tops with melted butter for a glossy finish.
- **Cool and Slice**: Let the bread cool in the tins for 10 minutes before transferring to a wire rack. Allow to cool completely before slicing.
Pro Tips for Homemade Sandwich Bread Success
To ensure your bread-making journey is successful, here are some expert tips:
- Measure Accurately: Use a kitchen scale for the best results. Accurate measurements of flour and water are key to achieving the right dough consistency.
- Check Yeast Freshness: Always check the expiration date on your yeast. Active yeast is critical for a good rise.
- Warm Water is Key: Ensure your water is lukewarm, around 110°F (43°C). Too hot can kill the yeast; too cold will not activate it.
- Allow for Full Rising: Patience is vital. Rushing the rising times can lead to dense bread.
- Knead Well: Kneading develops the gluten structure, ensuring that your bread has a good crumb and texture.
- Cool Before Slicing: Let your bread cool completely to set the crumb and avoid gummy slices.
- Experiment with Flours: Feel free to mix in whole wheat flour or other flours for added flavor and nutrition.
- Add Seeds or Nuts: For a delightful crunch, consider adding sunflower seeds, flaxseeds, or chopped nuts to the dough.
Common Mistakes and Troubleshooting
Even the most seasoned bakers can make mistakes. Here are some common issues and how to solve them:
- Dough Too Sticky: If your dough is too sticky, sprinkle in a little extra flour while kneading until the dough reaches the right consistency.
- Dough Won’t Rise: If your dough doesn’t rise, it could be due to inactive yeast or too cold of an environment. Ensure the yeast is fresh and find a warm spot for rising.
- Dense Bread: This can happen from under-kneading or rushing the rise. Make sure to knead thoroughly and allow enough time for rising.
- Uneven Crust Color: If the top browns too quickly, cover with aluminum foil to prevent burning while allowing the bread to cook through.
Variations on Sandwich Bread
This recipe is versatile! Here are some tasty variations to try:
- Herbed Sandwich Bread: Add dried herbs like rosemary or thyme to the dough for an aromatic twist.
- Cheese-Stuffed Bread: Incorporate shredded cheese into the dough for a cheesy delight.
- Sweet Sandwich Bread: Add cinnamon and raisins for a sweet version perfect for breakfast.
- Grainy Delight: Mix in oats or seeds for added texture and nutrition.
Storage and Make-Ahead Instructions
Proper storage ensures that your bread stays fresh:
- Room Temperature: Store the bread in a bread box or a sealed bag at room temperature for up to 3 days.
- Freezing Bread: To keep bread longer, slice and freeze it in an airtight bag. Thaw slices as needed.
- Make-Ahead Dough: You can prepare the dough and let it rise in the fridge overnight. Allow it to come to room temperature before shaping and baking.
Nutrition Tips and Dietary Adaptations
This recipe can be adapted for various dietary needs:
- Gluten-Free Option: Substitute with gluten-free bread flour, adjusting the liquid as necessary.
- Dairy-Free Version: Use non-dairy milk instead of whole milk and omit the butter or replace it with coconut oil.
- Lower Sugar Option: Reduce the honey or substitute it with a sugar alternative for a lower-sugar recipe.
Equipment Recommendations
Here’s what you’ll need to successfully create this sandwich bread:
- Mixing Bowls: A large bowl for mixing the dough is essential.
- Measuring Cups and Spoons: Accurate measurements are key for success.
- Stand Mixer with Dough Hook: Makes kneading easier but is not necessary if you prefer to knead by hand.
- Loaf Tins: Two 9×5 inch loaf pans are ideal for shaping the bread.
- Wire Rack: For cooling the bread after baking.
Serving Suggestions
Now that your bread is baked and cooled, how can you enjoy it?
- Classic Sandwiches: Perfect for any sandwich filling you love, from turkey to veggie.
- French Toast: Slice it thick and soak it in a custard for a delicious breakfast treat.
- Toast with Toppings: Top with butter and jam, or avocado and poached eggs for a delightful brunch.
- Soups and Stews: Serve alongside a bowl of your favorite soup for a comforting meal.
Frequently Asked Questions
Here are some common questions about making sandwich bread:
- Can I use all-purpose flour instead of bread flour? Yes, but the texture may be slightly different.
- How do I know when the bread is done baking? The bread should be golden brown and sound hollow when tapped on the bottom.
- Can I add other ingredients to the dough? Absolutely! Feel free to experiment with nuts, seeds, or dried fruits.
- What should I do if my dough is rising too slowly? Ensure your yeast is active and place the dough in a warmer area to encourage rising.
- How long does homemade bread last? It can last up to 3 days at room temperature or longer if frozen.
- Can I make this bread in a bread machine? Yes, follow the manufacturer’s instructions for bread recipes.
- Is it necessary to knead the dough? Yes, kneading develops gluten, which is essential for the texture of the bread.
- Can I make mini loaves? Yes, just adjust the baking time accordingly.
With Camila’s sandwich bread recipe, you’re not just baking bread; you’re creating connections, memories, and delicious meals. So gather your ingredients, embrace the process, and enjoy the adventure of baking!
Camila s sandwich bread recipe for soft tall loaves
Ingredients
Flour
- 6.5 cups bread flour
- 2 cups lukewarm water
- 1 cup whole milk (optional swap with water)
- 5 tablespoons unsalted butter softened
- 2 tablespoons honey
- 3 teaspoons instant yeast (or active dry yeast)
- 3 teaspoons sea salt
- 1 tablespoon unsalted butter melted (for brushing)
- 1 tablespoon unsalted butter (for tins)
Instructions
- Grease two loaf tins and set aside. Whisk water and honey, then add yeast and let sit for 1 minute.
- Add flour and salt; stir until a shaggy dough forms. Knead with softened butter until smooth, about 8-10 minutes.
- Shape into balls, place in oiled bowls, cover, and let rise until doubled (~2 hours).
- Divide dough into two, shape into logs, and place seam side down in tins. Cover and let rise until over the rim (~40-60 minutes).
- Preheat oven to 375°F (190°C). Bake loaves for 40-42 minutes until deep golden. Brush with melted butter, cool 10 minutes, then remove from tins and cool completely.