Welcome to a world where indulgence meets simplicity! Today, we’re diving into the delightful realm of No-Bake Oreo Cheesecake Cups. These little treasures not only satisfy your sweet tooth but also bring a taste of adventure to your table. With layers of creamy cheesecake goodness and crunchy Oreo delights, this recipe is more than just a dessert; it’s a celebration of flavors and connections that transcend borders. Perfect for any occasion, these cheesecake cups are sure to impress your guests and become a beloved staple in your dessert repertoire.
In this article, we’ll explore everything you need to know about creating these irresistible treats, from a detailed ingredient breakdown to expert tips and variations that cater to every palate. So, grab your apron, and let’s embark on this delicious journey!
Why You’ll Love This Recipe
This no-bake dessert is not just easy to make; it’s packed with flavors that will leave your taste buds dancing. Here are some reasons why you’ll fall in love with these Oreo cheesecake cups:
- Quick Preparation: Ready in just over an hour, most of which is chill time. Perfect for last-minute gatherings!
- Individual Portions: No slicing or serving mess! Each cup is a beautifully presented dessert that’s easy to enjoy.
- Customizable: Think fresh fruits, chocolate drizzles, or your favorite toppings. The possibilities are endless!
- Make Ahead: Prepare these cups a day in advance and store them in the fridge for effortless entertaining.
- Kid-Friendly: A fun activity to make with kids! Let them help crush the Oreos and layer the ingredients.
Ingredients Breakdown
Let’s dive into the heart of this recipe—the ingredients. Each component plays a crucial role in creating the perfect balance of flavors and textures.
- 18 Oreo cookies: The star of the show! These will form the base and add that signature chocolatey flavor.
- 3 tbsp melted butter: Used to bind the crushed Oreos into a crust. You can substitute with coconut oil for a tropical twist.
- 8 oz cream cheese: Ensure it’s softened for a smooth texture. Light cream cheese can be used for a lighter version.
- 1 1/2 cups powdered sugar: Adds sweetness to the filling. Adjust according to your taste preferences.
- 1 tsp vanilla extract: Enhances the flavor of the cheesecake. Feel free to experiment with almond extract for a unique twist!
- 1 1/2 cups whipped topping: This gives the cheesecake a light, airy texture. For a homemade version, you can whip heavy cream until stiff peaks form.
- Mini Oreos for garnish: A delightful finishing touch that adds a fun element to your presentation.
Step-by-Step Instructions
Now that we have our ingredients ready, let’s get to the fun part: assembling these delicious cups!
- Prepare the Oreo Crust: Crush the Oreo cookies into fine crumbs using a food processor or a ziplock bag with a rolling pin. Combine with melted butter until well mixed. Press the mixture firmly into the bottom of your serving cups.
- Make the Cheesecake Filling: In a mixing bowl, beat the softened cream cheese, powdered sugar, and vanilla extract until smooth and fluffy. This will create a rich, creamy base for your cheesecake.
- Add the Whipped Topping: Gently fold in the whipped topping until fully incorporated. Be careful not to deflate the mixture to keep it light and airy.
- Layer the Cups: Spoon the cheesecake filling over the crust in each cup. If desired, add extra Oreo chunks for an added crunch.
- Garnish: Top each cup with a generous dollop of whipped topping, crushed Oreos, and a mini Oreo for that perfect finishing touch.
- Chill: Place the cups in the refrigerator for at least 1 hour before serving. This allows the flavors to meld and the cheesecake to firm up.
Pro Tips for Perfect Oreo Cheesecake Cups

To ensure your dessert turns out perfectly every time, consider these expert tips:
- Room Temperature Ingredients: Always use cream cheese that’s at room temperature for a smooth filling. Cold cream cheese can lead to lumps.
- Don’t Rush the Chilling: Allowing the cups to chill properly is key for setting the cheesecake. Patience is a virtue in dessert-making!
- Experiment with Flavors: Add a touch of lemon juice to the filling for a tangy twist or a splash of coffee liqueur for a sophisticated flavor.
- Use Quality Ingredients: High-quality Oreos and cream cheese will significantly enhance the overall taste of your dessert.
- Mind Your Portions: These cups are rich! Consider using smaller cups for serving to keep indulgence in check.
Common Mistakes and Troubleshooting
Even the best chefs encounter pitfalls. Here are some common mistakes to avoid:
- Crust Too Crumbly: If your crust doesn’t hold together, try adding a bit more melted butter.
- Filling Too Runny: Ensure your cream cheese is adequately beaten and fully incorporated with the whipped topping.
- Too Sweet: Balance the sweetness by adding a pinch of salt to the filling; it enhances the overall flavor.
Variations & Creative Twists
Feeling adventurous? Here are some variations to keep things exciting:
- Chocolate Peanut Butter Cups: Add a layer of peanut butter between the crust and the filling for a rich twist.
- Mint Oreo Cheesecake: Substitute regular Oreos with mint-flavored ones for a refreshing flavor.
- Berry Bliss: Fold in fresh berries like strawberries or raspberries into the cheesecake filling for a fruity burst.
- Vegan Version: Use vegan cream cheese and whipped topping for a plant-based alternative that everyone can enjoy.
Storage and Make-Ahead Instructions
These no-bake Oreo cheesecake cups are perfect for make-ahead planning:
- Refrigeration: Store leftover cups in an airtight container in the fridge for up to 3 days.
- Freezing: These cups can be frozen for up to 2 months. Just make sure to wrap them tightly to prevent freezer burn.
- Thawing: To enjoy frozen cups, transfer them to the fridge for a few hours before serving.
Frequently Asked Questions
Got questions? We’ve got answers! Here are some common inquiries regarding this recipe:
- Can I use regular whipped cream instead of whipped topping? Yes! Just whip heavy cream until stiff peaks form and use it in place of whipped topping.
- How long do these cups last? They can be stored in the refrigerator for up to 3 days, making them great for meal prep.
- Can I make these cups gluten-free? Absolutely! Use gluten-free Oreos to make a delicious gluten-free dessert.
- What can I serve with these cups? Fresh fruit, chocolate sauce, or even a drizzle of caramel work beautifully alongside these cheesecake cups.
- Can I use a different cookie for the crust? Yes! Try using graham crackers or chocolate wafer cookies for a different flavor profile.
- How can I adjust the sweetness? You can reduce the amount of powdered sugar or add a pinch of salt to balance the flavors.
- Can I make these cups dairy-free? Yes! Substitute dairy ingredients with non-dairy equivalents for a delicious dairy-free version.
- How can I make them more festive? Top with seasonal fruits or edible decorations to match the occasion!
Nutrition Tips and Dietary Adaptations
For those mindful of their diet, here are some tips to make this dessert fit your nutritional needs:
- Low-Calorie Option: Use light cream cheese and sugar alternatives to reduce calorie content.
- Gluten-Free: As mentioned, opt for gluten-free Oreos to cater to dietary restrictions.
- Vegan-Friendly: Swap dairy ingredients for plant-based versions to create a vegan dessert.
Equipment Recommendations
To make your baking experience seamless, here are some recommended tools:
- Mixing Bowls: A good set of mixing bowls in various sizes is essential for combining ingredients.
- Electric Mixer: A hand mixer or stand mixer will simplify the process of beating the cream cheese.
- Measuring Cups and Spoons: Accurate measurements are key to achieving the perfect flavor balance.
- Food Processor: For quickly crushing Oreos into fine crumbs, a food processor is a game-changer.
- Serving Cups: Use clear cups or mason jars for a beautiful presentation that showcases the layers!
Serving Suggestions
Ready to impress your guests? Here are some serving ideas to elevate your presentation:
- Layered Parfaits: Create a beautiful visual by layering the cheesecake filling, crust, and toppings in clear cups.
- Chocolate Drizzle: Drizzle melted chocolate over the top for an elegant touch.
- Fresh Berries: Garnish with fresh berries or mint leaves for a pop of color and freshness.
- Personalized Tags: Add cute tags with names or flavors to each cup for a charming touch at parties!
Conclusion
And there you have it! Your guide to creating the ultimate No-Bake Oreo Cheesecake Cups. These delightful treats are not only a breeze to make but also a delicious way to connect with your loved ones over a shared love for dessert. Whether you’re hosting a gathering or simply indulging in a sweet escape, these cheesecake cups promise to transport you to dessert paradise. So gather your ingredients, unleash your creativity, and enjoy every delicious bite. Happy cooking!
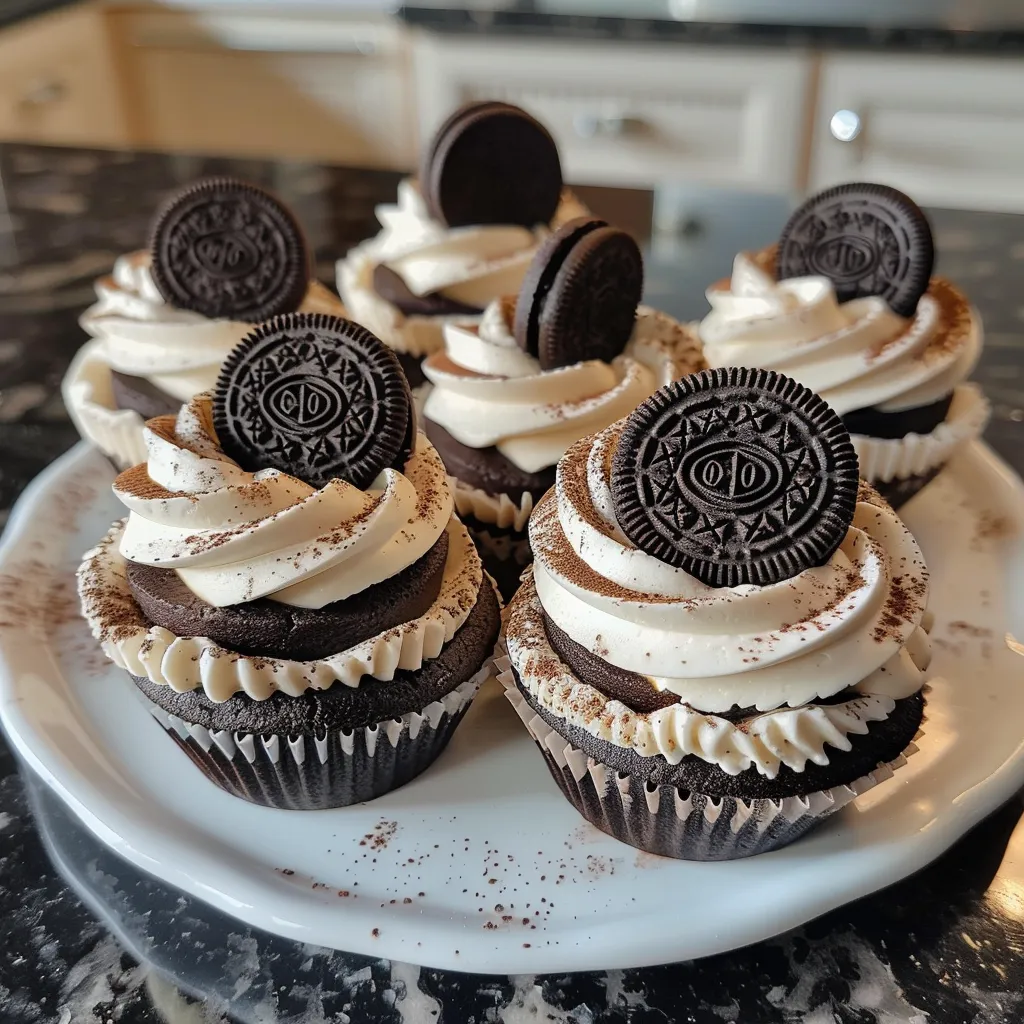
No-Bake Oreo Cheesecake Cups
Ingredients
Crust
- 18 pieces Oreo cookies (for crust and garnish)
- 3 tbsp melted butter
Filling
- 8 oz cream cheese
- 1 2 cups powdered sugar
- 1 tsp vanilla extract
- 1 1 2 cups whipped topping
Garnish
- Mini Oreos
Instructions
- Mix crushed Oreos with melted butter and press into the bottom of cups.
- Beat cream cheese, powdered sugar, and vanilla until smooth.
- Fold in whipped topping gently.
- Layer filling over crust, add extra Oreo chunks if desired.
- Top with whipped topping, crushed Oreos, and a mini Oreo. Chill for 1 hour.