
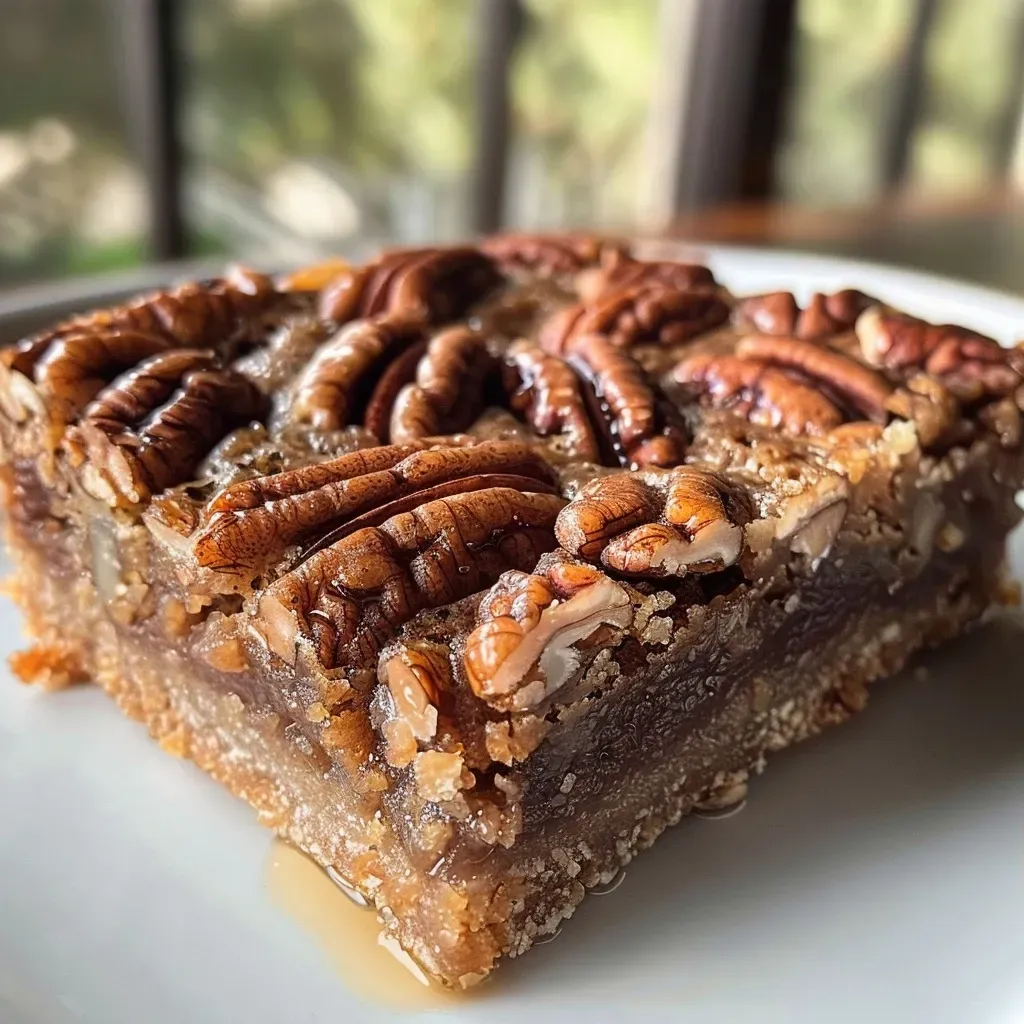
Embarking on a Culinary Journey with Healthy Gluten-Free Pecan Pie Bars
Welcome, fellow food explorers! Today, we’re diving into a delightful recipe that not only satisfies your sweet cravings but also celebrates wholesome ingredients. These Healthy Gluten-Free Pecan Pie Bars are a perfect blend of rich flavors and nutritious elements, paying homage to the classic pecan pie while keeping it guilt-free. Let’s embark on this culinary adventure together, where each bite tells a story of simplicity and indulgence!
Why You’ll Love This Recipe
- Health-Conscious Delights: Enjoy the rich taste of pecan pie without the guilt. These bars are gluten-free and made with wholesome ingredients, making them a great choice for health-conscious eaters.
- Quick and Easy: With just a few simple steps, you can whip up these delicious bars in no time. Perfect for busy days when you need a sweet treat!
- Versatile Flavor Profile: Customize the flavor by adding your favorite ingredients. Whether it’s a splash of bourbon or chocolate chips, these bars can easily adapt to your taste preferences.
- Perfect for Sharing: Cut these into small squares and serve them at gatherings or potlucks. They’re sure to impress your friends and family!
- Storage-Friendly: These bars stay fresh for up to a week in the fridge, making them a fantastic make-ahead option for those busy weeks.
What You’ll Need to Make These Gluten-Free Pecan Pie Bars
Let’s gather our ingredients to create these heavenly bars. Here’s what you’ll need:
- 2 cups almond flour: This serves as the base for our gluten-free crust, providing a nutty flavor and a perfect texture.
- 1/4 cup melted coconut oil: This adds moisture and richness to the bars while keeping them dairy-free.
- 1/4 cup maple syrup: A natural sweetener that enhances the flavor of the filling.
- 1 teaspoon vanilla extract (optional, but recommended): This adds depth and warmth to the overall taste.
- 1/2 cup coconut sugar (or brown sugar): This gives the filling its signature sweetness and caramel notes.
- 2 eggs (at room temperature, very important!): These provide structure and richness to the filling.
- 1 1/2 cups chopped pecans (raw and unsalted): The star ingredient that brings a delightful crunch and flavor.
How to Make Healthy Gluten-Free Pecan Pie Bars
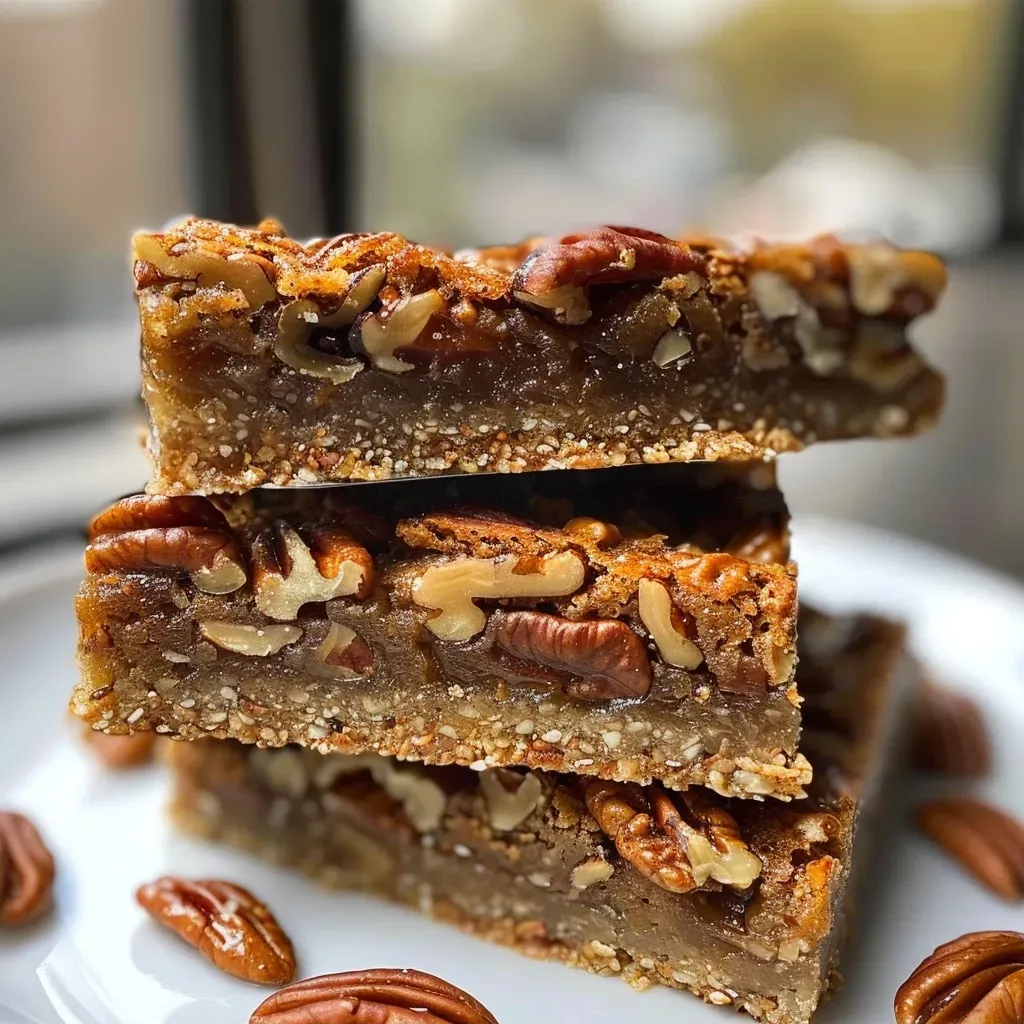
Now that we have everything ready, let’s get cooking! Follow these steps to create your own batch of Healthy Gluten-Free Pecan Pie Bars.

★ Recommended Kitchen Tool
Digital Kitchen Scale
Make this recipe even easier with a quality Digital Kitchen Scale — a must-have kitchen staple!
- Preheat your oven to 350° Fahrenheit and line a 9×9-inch baking pan with parchment paper.
- In a large bowl, combine all the ingredients for the shortbread crust and mix well. Transfer the mixture to your prepared baking pan, pressing it down into an even layer. Bake for 10 minutes or until it’s lightly golden brown around the edges.
- While the crust is baking, prepare the filling. In a separate bowl, whisk together the coconut sugar, melted coconut oil, maple syrup, vanilla extract, and eggs until fully combined. Gently fold in the chopped pecans.
- Once the crust is baked, pour the pecan pie filling over the crust and return it to the oven. Bake for an additional 20-25 minutes, or until the filling is set.
- Allow the bars to cool for at least 30 minutes in the pan before transferring them to the fridge to chill for about an hour. Cut into 16 squares and enjoy!
Pro Tips for Perfect Pecan Pie Bars
To elevate your baking game, here are some expert insights:
- Room Temperature Eggs: Always use eggs at room temperature for a smoother batter and better incorporation.
- Don’t Overmix: When combining the filling ingredients, mix until just combined to maintain a tender texture.
- Chill the Bars: Chilling the bars after baking helps them set and makes them easier to cut.
- Use Fresh Pecans: For the best flavor, use fresh, raw pecans. Toasting them lightly before adding can enhance their nuttiness.
- Experiment with Sweeteners: Substitute maple syrup with honey or agave nectar for different flavor profiles.
- Check for Doneness: The filling should be firm but slightly jiggly; overbaking can lead to a dry texture.
- Cutting Technique: Use a sharp knife and clean each cut to keep the bars looking neat.
- Serving Temperature: These bars can be enjoyed warm or chilled; both provide a unique experience!
Common Mistakes and Troubleshooting
Even the best chefs encounter challenges. Here are some common mistakes to avoid:
- Crust Too Crumbly: This usually happens if there’s not enough coconut oil. Ensure you measure accurately and press firmly.
- Filling Not Setting: If your filling is too runny, it may need more baking time. Always check for firmness before removing from the oven.
- Bars Falling Apart: This can occur if they aren’t cooled adequately. Patience is key!
- Overly Sweet Bars: If you find the bars too sweet, consider reducing the amount of coconut sugar or maple syrup next time.
Variations to Try
Feel free to get creative! Here are some variations you might enjoy:
- Chocolate Chip Pecan Bars: Add 1/2 cup of dark chocolate chips to the filling for a decadent twist.
- Coconut Pecan Bars: Stir in 1/2 cup of unsweetened shredded coconut for added texture and flavor.
- Spiced Pecan Bars: Add a pinch of cinnamon or nutmeg to the filling for a warm, spiced flavor.
- Bourbon Pecan Bars: Incorporate a tablespoon of bourbon into the filling for a sophisticated twist.
Storage and Make-Ahead Instructions
These bars are perfect for meal prep! Here’s how to store and make them ahead of time:
- Refrigeration: Store in an airtight container in the fridge for up to 1 week.
- Freezing: To freeze, wrap individual bars tightly in plastic wrap and then place them in a freezer-safe bag. They can last up to 3 months.
- Thawing: When ready to enjoy, thaw in the fridge overnight or at room temperature for a couple of hours.
Comprehensive FAQ
Here are some frequently asked questions to help you navigate this delightful recipe:
- Can I use a different nut flour? Yes, you can substitute almond flour with cashew or hazelnut flour for different flavors.
- Is this recipe vegan? To make it vegan, substitute eggs with flax eggs (1 tablespoon flaxseed meal + 2.5 tablespoons water per egg).
- Can I use regular sugar instead of coconut sugar? Yes, brown sugar is a great substitute for coconut sugar.
- How do I know when the bars are done baking? The filling should be set but still slightly jiggly when you take them out.
- What’s the best way to cut the bars? Use a sharp knife and clean each cut for neat squares.
- Can I add other nuts? Absolutely! Chopped walnuts or pecans can be mixed into the filling for added crunch.
- How do I store leftover bars? Keep them in an airtight container in the fridge or freeze for later enjoyment.
- Can I make these bars without eggs? Yes, using flax eggs or chia seeds can work as a binding agent.
Nutritional Tips and Dietary Adaptations
For those looking to enhance their nutritional intake or accommodate dietary needs, consider these tips:
- Protein Boost: Add a scoop of protein powder to the filling for an extra boost.
- Low-Sugar Option: Use a sugar substitute like erythritol or monk fruit sweetener for a lower-calorie option.
- Nut-Free Version: Substitute almond flour with oat flour for a nut-free alternative.
- Fiber-Rich Additions: Incorporate chia seeds or flaxseeds into the crust for added fiber and nutrients.
Equipment Recommendations
To make your baking process smoother, here’s a list of essential tools:
- 9×9-inch Baking Pan: Essential for creating the perfect bar shape.
- Parchment Paper: Helps with easy removal and cleanup.
- Mixing Bowls: Have a variety of sizes for mixing crust and filling separately.
- Whisk: Useful for combining filling ingredients smoothly.
- Sharp Knife: For cutting the bars into neat squares.
Serving Suggestions
Now that your Healthy Gluten-Free Pecan Pie Bars are ready to be enjoyed, consider these serving ideas:
- With Ice Cream: Top with a scoop of vanilla or coconut ice cream for a delicious dessert.
- Garnished with Whipped Cream: A dollop of whipped cream adds a nice touch of creaminess.
- Accompanied by Coffee: These bars pair beautifully with a cup of coffee or tea.
- As a Snack: Enjoy them as a nutritious snack on the go; they’re portable and satisfying!
In conclusion, these Healthy Gluten-Free Pecan Pie Bars are more than just a dessert—they’re a journey of flavors and connections. As you savor each bite, remember that cooking is about discovery and sharing moments with loved ones. So, gather your ingredients, unleash your inner chef, and let’s create something magical together. Happy baking!
Healthy Gluten-Free Pecan Pie Bars
Ingredients
Crust
- 2 cups almond flour
- 1/4 cup melted coconut oil
- 1/4 cup maple syrup
- 1 teaspoon vanilla extract (optional, but recommended)
Filling
- 1/2 cup coconut sugar (or brown sugar)
- 1/4 cup melted coconut oil
- 1/4 cup maple syrup
- 1 teaspoon vanilla extract (optional, but recommended)
- 2 eggs at room temperature (very important!)
- 1 1/2 cups chopped pecans (raw and unsalted)
Instructions
- Preheat oven to 350°F (175°C). Line a 9x9-inch pan with parchment.
- Mix crust ingredients, press into pan, and bake 10 minutes until golden.
- Whisk together filling ingredients, then fold in pecans.
- Pour filling over crust and bake 20-25 minutes until set. Cool 30 minutes.
- Chill in fridge for 1 hour, then cut into 16 squares and serve.