
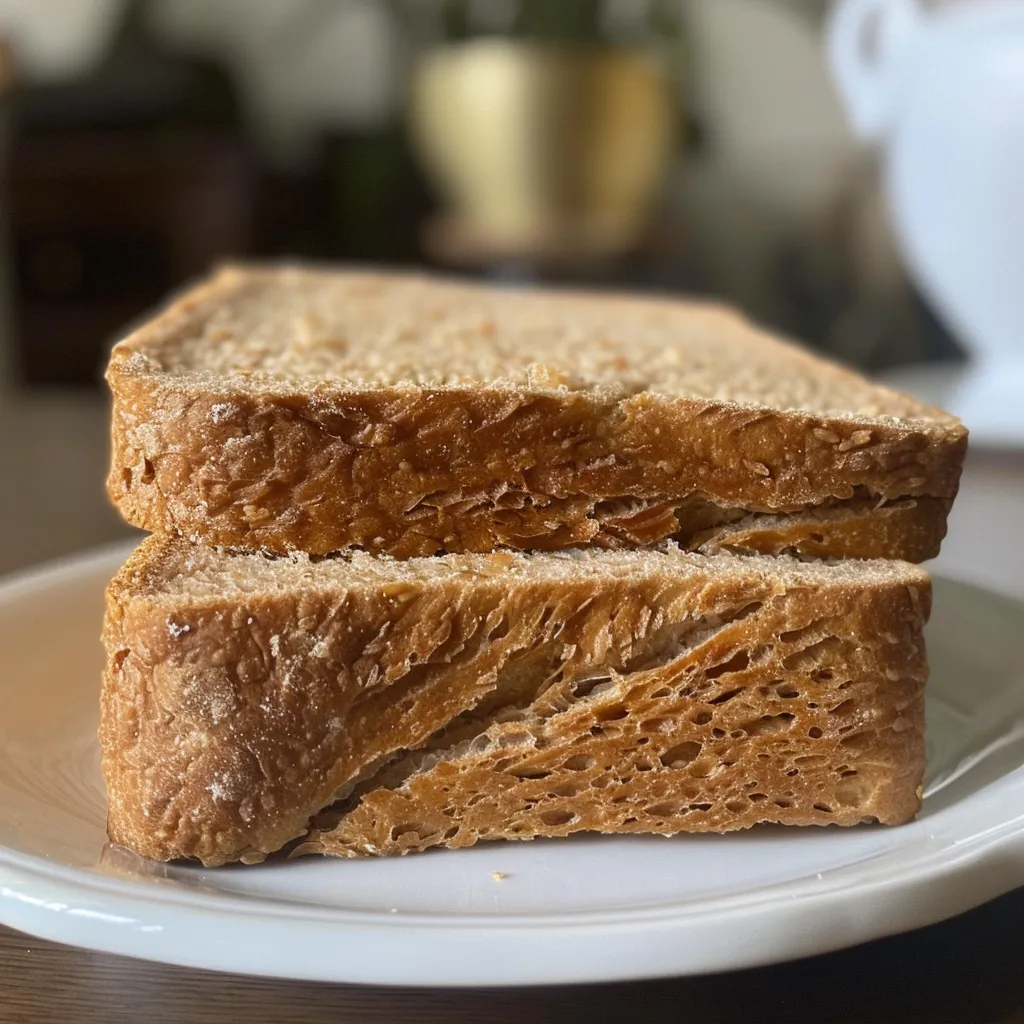
Embarking on the Sourdough Adventure
Welcome to the world of **whole wheat sourdough bread**, where tradition meets innovation! If you’ve ever tasted a freshly baked loaf, you know how it whispers stories of the grains and the hands that crafted it. This recipe for **soft whole wheat sourdough sandwich bread** not only delivers a deliciously fluffy texture but also immerses you in a journey filled with flavor and culture. Get ready to dive into the art of baking that’s as much about the process as it is about the outcome!
Why You’ll Love This Recipe
This isn’t just any **sourdough bread recipe**—it’s a culinary experience! Here are five reasons why you’ll adore making this delightful loaf:
- Community Connection: Each loaf you bake connects you with bakers around the world, sharing a timeless tradition.
- Health Benefits: Whole wheat flour increases fiber content, making this bread a nutritious choice for your family.
- Versatile Usage: Perfect for sandwiches, toast, or simply enjoying with a pat of butter, this bread suits any occasion.
- Artisanal Quality: The sourdough fermentation process enhances flavor complexity and makes the bread naturally preservative-free.
- Creative Variations: This recipe serves as a base for numerous variations—add seeds, nuts, or herbs for a personal touch!
Ingredients Breakdown
Before we get our hands floury, let’s discuss the essential ingredients for crafting this **sourdough sandwich bread**:
- Active Sourdough Starter (150 g / 3/4 cup): The heart of the recipe that brings life to your dough. Ensure it’s bubbly and active.
- Warm Milk (300 g / 1 1/4 cups): Adds moisture and a slight sweetness. You can substitute with almond or oat milk for a dairy-free option.
- Honey (40 g / 2 tablespoons): A natural sweetener that complements the sour notes. Maple syrup can be a great alternative.
- Unsalted Butter (57 g / 4 tablespoons, melted): Provides richness. Coconut oil can be used for a dairy-free version.
- Whole Wheat Flour (125 g / 1 cup): The foundation for your bread, offering nutrients and flavor. You can swap it for spelt flour for a different taste.
- Bread Flour (375 g / 2 2/3 cups): Offers the perfect gluten structure for a chewy texture. All-purpose flour can also work, though the texture may vary.
- Salt (9 g / 1 1/2 teaspoons): Essential for flavor and strengthens the dough.
Crafting the Dough
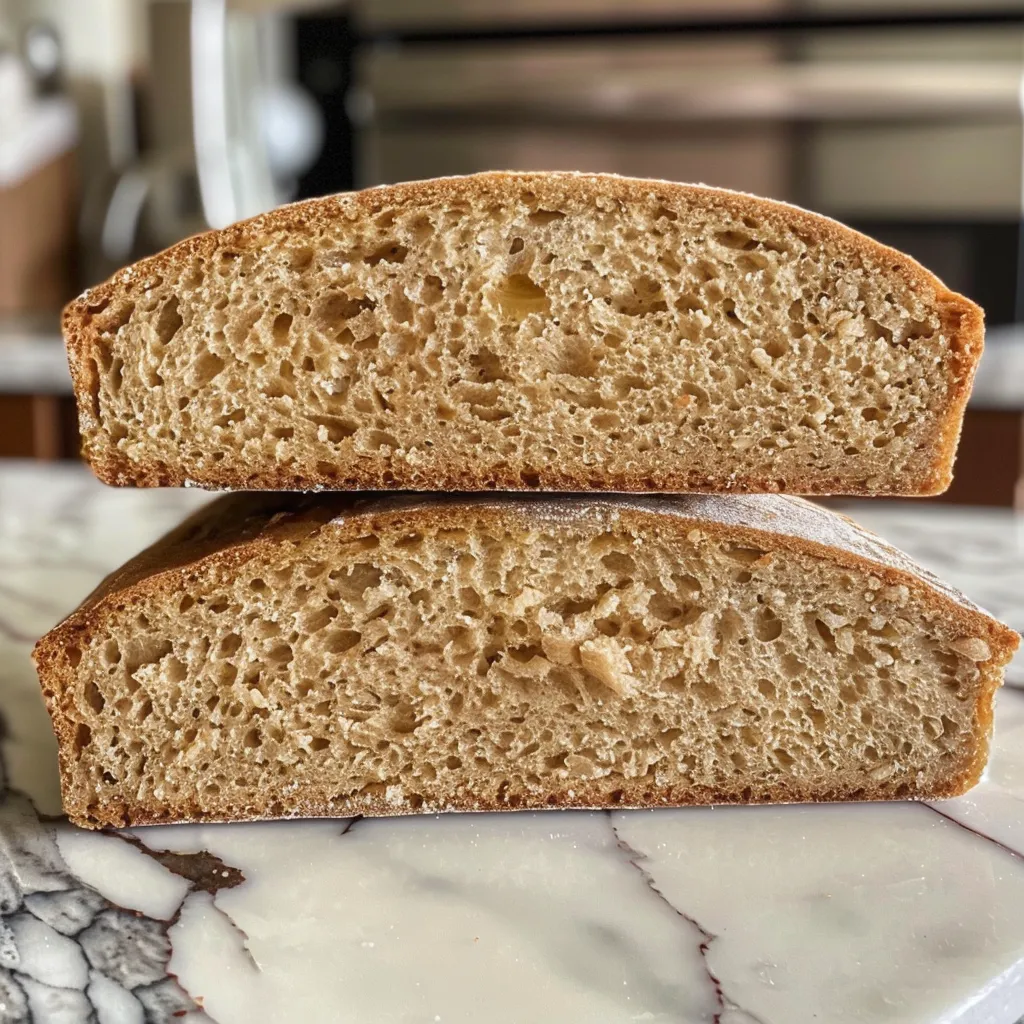

Now that we have our ingredients, let’s delve into the steps to create this heavenly loaf. Below are two sample baker’s schedules to guide your baking:
Sample Baker’s Schedule
Here’s how you can time your baking for the same day:
- Morning: Feed your starter (see feeding instructions below).
- Afternoon: Once your starter is bubbly, prepare the dough and let it rise.
- Evening: Shape the dough and allow for a second rise, then bake!
Feeding Your Starter
To prepare your starter for baking, follow these steps:
- Feed 25g of starter, 75g of warm water, and 75g of flour.
- Mix until fully incorporated and allow it to rise until it doubles in size.
- This typically takes about 12 hours in a 70°F (21°C) kitchen.
Step-by-Step Instructions
1. Prepare Your Dough
Once your starter is ready, it’s time to make the dough!
- In a large mixing bowl, combine the active sourdough starter, warm milk, honey, and melted butter. Stir until well mixed.
- Gradually add the whole wheat flour and bread flour, mixing until a shaggy dough forms.
2. Kneading the Dough
Kneading is crucial for developing gluten, which gives the bread its structure:
- Turn the dough out onto a floured surface and knead for about 10 minutes until smooth and elastic.
- If the dough is sticky, sprinkle a little more flour as needed.
3. Bulk Fermentation
Let the dough rise in a warm place:
- Cover the bowl with a damp cloth and let it rise until doubled in size, about 4-6 hours, depending on your room temperature.
- During this time, perform stretch and folds every hour to strengthen the dough.
4. Shaping the Dough
Once your dough has risen, it’s time to shape it:
- Turn the dough onto a floured surface and gently press it into a rectangle.
- Fold the sides over to the center and roll it tightly into a loaf shape.
5. Second Rise
Allow the shaped dough to rise again:
- Place it in a greased loaf pan, cover, and let it rise for 1-2 hours until puffy.
6. Preheat and Bake
Get ready for that delightful aroma:
- Preheat your oven to 375°F (190°C).
- Bake for 30-35 minutes or until golden brown and the bread sounds hollow when tapped.
7. Cooling
Let your bread cool completely on a wire rack before slicing:
- This allows the steam to escape and prevents sogginess.
Pro Tips for Perfect Bread
Here are some expert insights to elevate your sourdough game:
- Temperature Matters: Dough rises best in warm environments, so consider using your oven with the light on or a proofing box.
- Hydration Levels: Adjust hydration by adding more or less liquid, depending on your flour’s absorbency.
- Give It Time: Don’t rush the fermentation process; flavor develops over time.
- Use a Kitchen Scale: Weighing ingredients ensures accuracy and consistency in your baking.
- Experiment with Flours: Try mixing different flours like rye or spelt for unique flavors.
- Score Before Baking: Make a shallow cut on top of the loaf to control where it expands during baking.
- Don’t Skip the Cooling: Cooling allows the crumb to set properly, enhancing texture.
- Store Correctly: Keep your bread in a cloth bag or bread box to maintain freshness.
Common Mistakes and Troubleshooting
Even the best bakers encounter challenges. Here are some common mistakes and how to fix them:
- Dough Not Rising: Ensure your starter is active and your kitchen is warm enough.
- Dense Bread: This can happen from over-kneading; try reducing the kneading time.
- Too Many Crumbs: If your bread is crumbly, it may be underbaked or too much flour was added.
- Dry Bread: Ensure you’re measuring your ingredients accurately, especially the liquids.
Variations to Explore
Feeling adventurous? Here are some delightful variations to try:
- Seeded Whole Wheat Sourdough: Add sunflower seeds, flaxseeds, or sesame seeds for an extra crunch.
- Herb-Infused Bread: Mix in fresh herbs like rosemary or thyme for a fragrant twist.
- Cheese and Chive Bread: Fold in shredded cheese and chopped chives before shaping for a savory treat.
- Cinnamon Raisin Variation: Add cinnamon and raisins for a sweet breakfast option.
Storage and Make-Ahead Instructions
Want to enjoy your bread longer? Here’s how to store it:
- **Room Temperature**: Store in a cloth bag or bread box for up to 3 days.
- **Freezing**: Slice the bread and freeze for up to 3 months. Just toast slices directly from the freezer for a quick snack!
Frequently Asked Questions
Here are some common questions about this whole wheat sourdough bread:
- Can I use all-purpose flour instead of bread flour? Yes, but the texture may be less chewy.
- How can I tell if my sourdough starter is ready? It should be bubbly, double in size, and have a pleasant, tangy aroma.
- Can I bake this bread in a Dutch oven? Absolutely! Just preheat the Dutch oven and bake covered for the first 20 minutes for a beautiful crust.
- Is it possible to double the recipe? Yes, simply double each ingredient, but ensure your mixing bowl is large enough!
- How can I make it gluten-free? You’ll need a gluten-free flour blend and a suitable gluten-free starter.
- What’s the best way to slice the bread? Use a serrated knife for clean cuts without squashing the loaf.
- Can I add nuts or dried fruits? Yes! Mix them in after the first rise for delicious variations.
- Why does my bread have a sour taste? This is normal for sourdough; for less sourness, reduce fermentation time.
Nutritional Tips and Dietary Adaptations
This recipe is not only tasty but can also be tailored for various dietary needs:
- Whole Wheat Benefits: Rich in dietary fiber, promoting digestive health.
- Dairy-Free Option: Substitute milk and butter with plant-based alternatives for a vegan-friendly loaf.
- Low Sugar Adaptation: Reduce the honey or omit it for a less sweet loaf.
Essential Equipment for Baking
Here’s a quick list of tools that will make your baking experience smoother:
- Mixing Bowls: A set of various sizes for mixing and rising.
- Loaf Pan: Essential for shaping your sandwich bread.
- Kitchen Scale: For precise ingredient measurements.
- Dough Scraper: Helps in handling sticky dough with ease.
- Wire Rack: For cooling your bread evenly.
Serving Suggestions
Your sourdough sandwich bread is ready! Here are some ideas for enjoying it:
- Classic Sandwiches: Use it for turkey, avocado, or classic BLTs.
- Breakfast Toast: Top with smashed avocado, eggs, or your favorite jam.
- French Toast: The sturdy texture holds up beautifully when soaked in custard.
Conclusion: Your Sourdough Story Awaits
As you embark on this sourdough journey, remember that every loaf carries a piece of your culinary adventure. With each rise and fold, you’re not just making bread—you’re weaving together flavors, cultures, and memories. So roll up your sleeves, grab your apron, and let the magic of baking fill your kitchen with warmth. Happy baking, and may your **sourdough sandwich bread** be the start of many delicious tales!
Soft Whole Wheat Sourdough Sandwich Bread Recipe
Ingredients
Sourdough Starter
- 150 g active sourdough starter
- 300 g warm milk
- 40 g honey
- 57 g unsalted butter, melted
- 125 g whole wheat flour
- 375 g bread flour
- 9 g salt
Instructions
- Feed 25g of starter with 75g warm water and 75g flour; let it rise until peak.
- Allow the starter to double in size with bubbles on top, about 12 hours at 70°F.
- Mix the starter with milk, honey, melted butter, whole wheat flour, bread flour, and salt to form the dough.
- Knead until smooth, then let the dough rise until doubled in size.
- Shape the dough into a loaf, let it rise again, then bake at 375°F (190°C) for 45 minutes.
