Discover the Joy of Homemade Strawberry Yogurt Popsicles
As the sun shines brighter and the days grow warmer, nothing beats the refreshing taste of frozen treats. Enter the world of strawberry yogurt popsicles, a delightful blend of luscious strawberries and creamy yogurt that captures the essence of summer. This simple yet satisfying recipe not only cools you down but also brings along a burst of nutrients, making it a wholesome snack for any occasion. In this guide, we’ll dive deep into everything you need to know to create your own homemade strawberry yogurt popsicles!
Why You’ll Love This Recipe
These strawberry yogurt popsicles are more than just a treat; they are a celebration of summer! Here’s why you’ll adore making them:
- Simple Ingredients: With just three main ingredients—fresh strawberries, yogurt, and a sweetener—you can whip up these popsicles in no time.
- Customizable Flavor: You can easily tweak the flavor by adding other fruits or flavors like vanilla or honey.
- Healthy Snack Option: Using Greek yogurt packs in protein and probiotics, making this a nutritious snack for both kids and adults.
- Fun for Everyone: Engage the whole family in the making process! Kids love to help blend the ingredients and pour them into molds.
- Perfect for Hot Days: These popsicles are the ideal remedy for a hot summer day, providing a cool and refreshing sweetness.
Ingredient Breakdown
Let’s take a closer look at the ingredients that make these popsicles so delightful:
- Strawberries: Use ripe, fresh strawberries for the best flavor. You can also use frozen strawberries if fresh ones aren’t available.
- Yogurt: Greek yogurt is recommended for its creaminess and high protein content, but feel free to use regular yogurt.
- Sweetener: A banana or natural sweetener like honey, maple syrup, or agave can be used to enhance the sweetness. Adjust according to your taste preference.
How to Make Strawberry Yogurt Popsicles
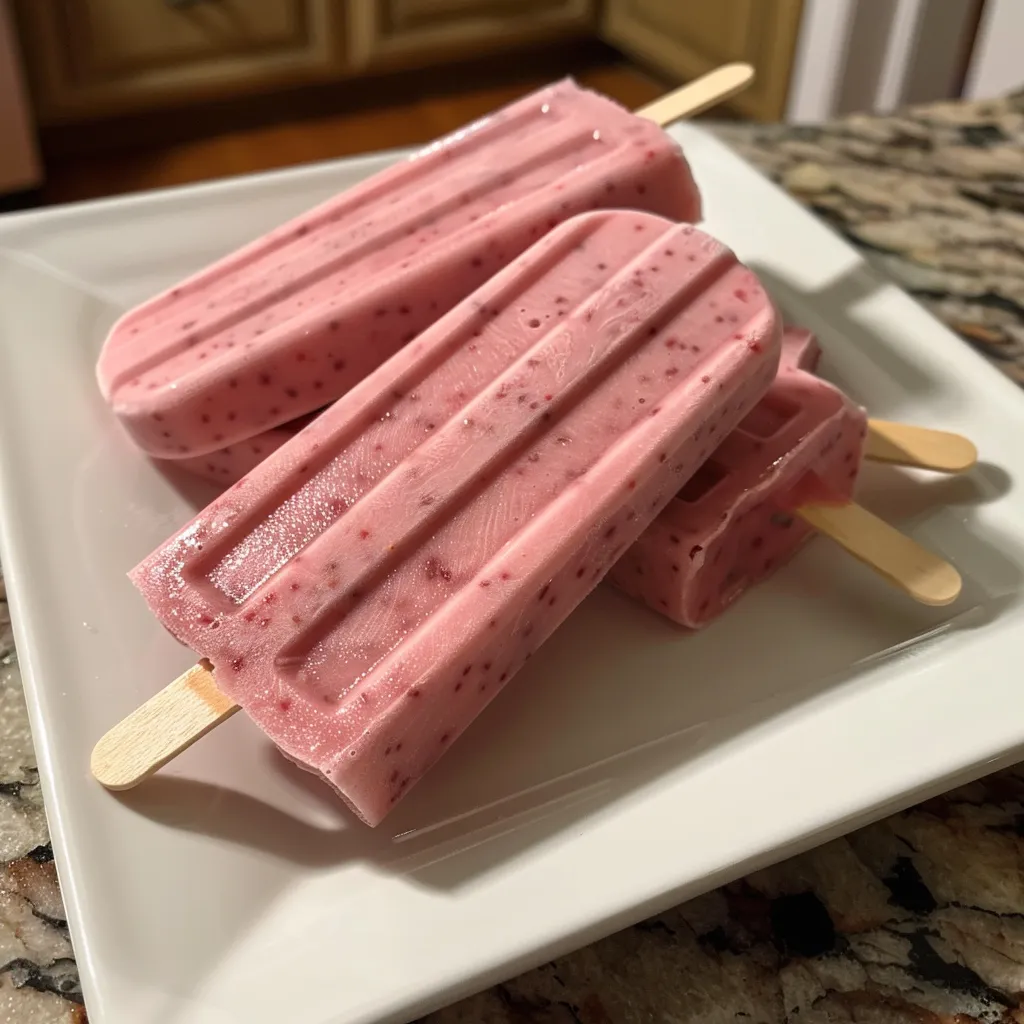
Making your own strawberry yogurt popsicles is incredibly easy! Here’s a step-by-step guide:
- Step 1: Place 2 cups of fresh strawberries and 2 cups of yogurt in a blender.
- Step 2: Blend until smooth. If you prefer a bit of texture, pulse a few times to leave some chunks.
- Step 3: Taste the mixture and add a banana or your chosen sweetener if desired.
- Step 4: Pour the mixture into popsicle molds.
- Step 5: Freeze for at least 3 hours or until solid.
Pro Tips for Perfect Popsicles
To ensure your popsicles turn out perfectly every time, consider these expert insights:
- Choosing the Right Molds: Invest in silicone popsicle molds for easy removal. They allow you to pop out the frozen treats without breaking them.
- Layering Flavors: For a fun twist, layer different fruit purees or yogurt before freezing.
- Don’t Overfill: Leave a little space at the top of the molds to allow for expansion as the mixture freezes.
- Add-ins: Toss in some chopped nuts or mini chocolate chips for added texture and flavor.
- Storage Tips: Store popsicles in an airtight container to prevent freezer burn.
- Serve with Style: Serve popsicles with fresh fruit or a drizzle of honey for an elegant touch.
- Experiment with Sweeteners: Try different sweeteners to find your perfect balance of sweetness.
- Watch the Time: If using a banana for sweetness, allow the mixture to freeze a bit longer for the best texture.
Common Mistakes and Troubleshooting
Even the best chefs make mistakes! Here’s how to avoid common pitfalls:
- Too Hard to Remove: If your popsicles are hard to remove, run the mold under warm water for a few seconds to loosen them.
- Not Sweet Enough: If your popsicles taste bland, you can blend in a bit more sweetener after tasting.
- Uneven Freezing: Ensure your popsicles are evenly filled and that they freeze overnight for optimal results.
Variations to Try
Once you have the basic recipe down, experiment with these tasty variations:
- Berry Medley: Combine strawberries with blueberries and raspberries for a mixed berry popsicle.
- Peach Yogurt Popsicles: Substitute strawberries with ripe peaches for a sweet twist.
- Coconut Dreams: Use coconut yogurt instead of regular yogurt and add shredded coconut for a tropical flavor.
- Chocolate Banana Delight: Blend in cocoa powder and banana for a chocolatey treat.
Storage and Make-Ahead Instructions
These popsicles can be made ahead of time, making them perfect for busy days:
- Freezer Storage: Store your popsicles in the freezer for up to 6 weeks. Just ensure they are well-wrapped or in an airtight container.
- Prepping Ahead: You can prepare the mixture a day in advance and store it in the fridge before pouring it into molds.
Frequently Asked Questions
Here are answers to some common questions about strawberry yogurt popsicles:
- Can I use non-dairy yogurt? Yes, non-dairy yogurts like almond or soy yogurt work great!
- How long do they take to freeze? Typically, they need at least 3 hours but overnight is best for solid popsicles.
- Can I add vegetables? Absolutely! Spinach or kale can be blended in for added nutrition.
- What’s the best way to serve them? Serve with fresh fruit slices or yogurt for dipping!
- Are these popsicles kid-friendly? Yes! They are a healthier alternative to store-bought popsicles.
- Can I use other fruits? Yes, feel free to experiment with other fruits like mango or kiwi.
- Do I need special molds? While popsicle molds are ideal, you can also use small cups with sticks.
- What if I don’t have a blender? You can mash the strawberries and mix by hand, though a blender creates a smoother texture.
Nutrition Tips and Dietary Adaptations
Making these popsicles can align with various dietary needs:
- Low-Sugar Option: Use unsweetened yogurt and adjust sweetness with ripe bananas.
- Dairy-Free Version: Swap regular yogurt for coconut or almond yogurt.
- Protein Boost: Add a scoop of protein powder for an added nutritional punch.
- Vegan-Friendly: Use plant-based yogurt and a natural sweetener to keep it vegan.
Equipment Recommendations
Here’s what you’ll need to get started:
- Popsicle Molds: Silicone molds make removal easy!
- Blender: A high-speed blender will give you the smoothest mixture.
- Measuring Cups: Accurate measurements ensure consistent results.
Serving Suggestions
Enhance your popsicle experience with these serving ideas:
- Fresh Fruit Garnish: Serve with a side of sliced strawberries or a sprig of mint.
- Yogurt Dipping Sauce: Create a yogurt dip flavored with vanilla or honey.
- Fruit Skewers: Pair your popsicles with fresh fruit skewers for a colorful plate.
In conclusion, homemade strawberry yogurt popsicles are a delightful way to celebrate summer, blend flavors, and create joyful memories. Not only are they easy to make, but they also allow you to experiment with various ingredients, making each batch unique. So grab your popsicle molds, gather your ingredients, and let the flavor adventure begin!
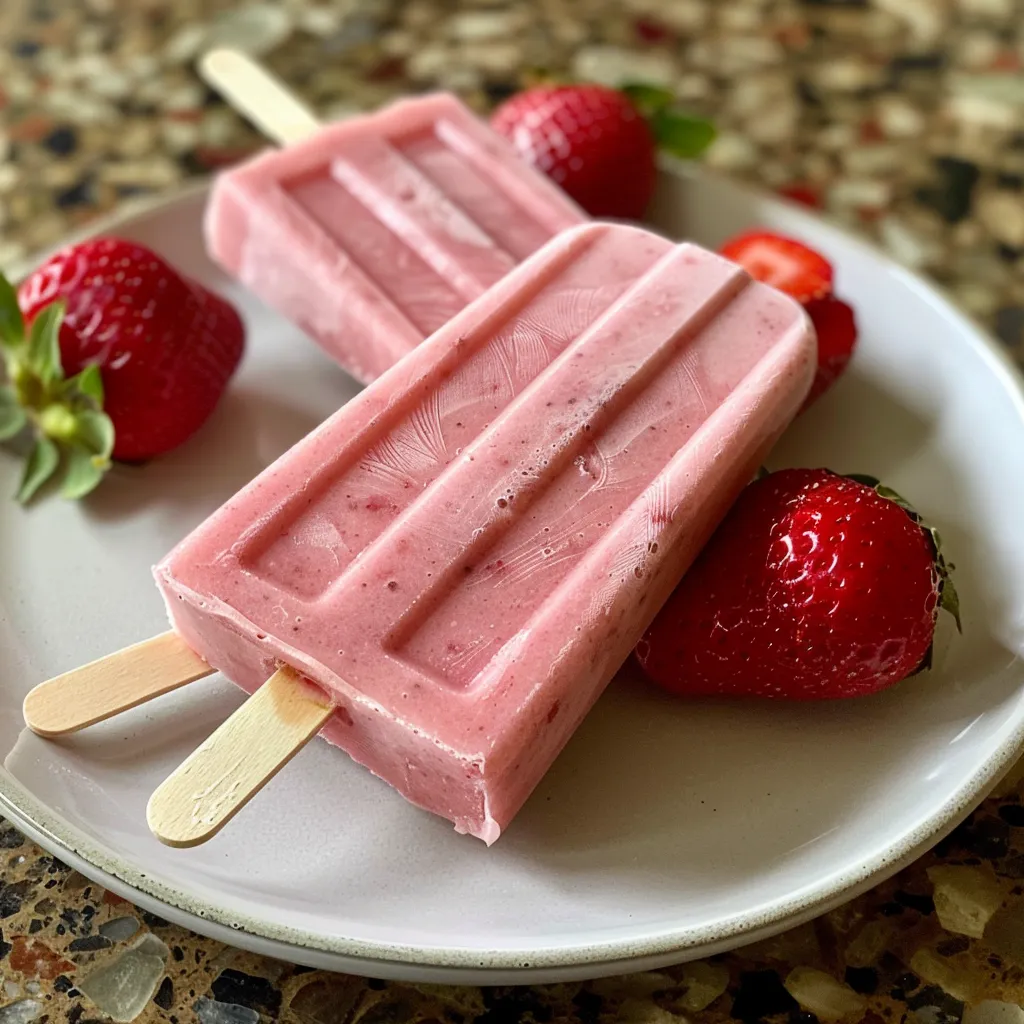
Strawberry Yogurt Popsicles
Ingredients
Fruits
- 2 cups strawberries (hulled and halved)
- 2 cups yogurt (plain or flavored)
- 1 whole banana banana (optional, for sweetness)
- to taste honey/maple syrup/agave sweetener (optional, adjust to preference)
Instructions
- Place strawberries, yogurt, banana (if using), and sweetener in a blender.
- Blend until smooth.
- Pour mixture into popsicle molds.
- Insert sticks and freeze for at least 3 hours.