Why You’ll Fall in Love with These Homemade Dinner Rolls
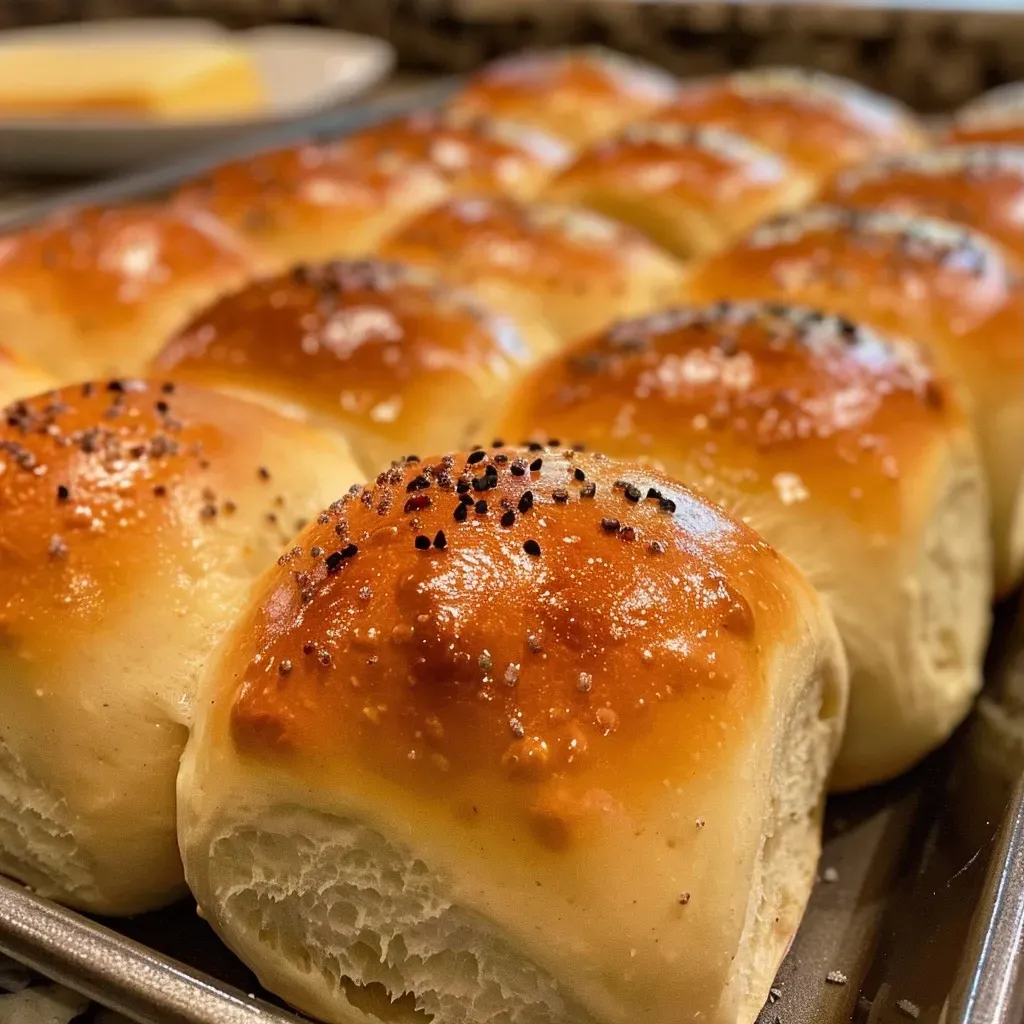
Homemade dinner rolls can transform any meal into a comforting experience. When you take the first bite of these golden, fluffy rolls, you’ll find yourself transported to a cozy kitchen filled with the warmth of family gatherings and the delightful aroma of freshly baked bread. This recipe is not just about making dinner rolls; it’s about creating memories through food. Here’s why you’ll love this recipe:
- Fluffy Perfection: These rolls achieve a light and airy texture that makes them irresistible, perfect for soaking up gravies or enjoying with a pat of butter.
- Simple Ingredients: Using just a handful of basic pantry staples, you can create something extraordinary. This recipe is approachable for bakers of all skill levels.
- Versatile Use: Whether served as a side for dinner, made into sandwiches for lunch, or enjoyed with breakfast, these rolls fit seamlessly into any meal.
- Make Ahead Convenience: With a few simple steps, you can prep these rolls in advance, making your meal prep a breeze.
- Family Tradition: This recipe can easily become a cherished family tradition, passed down through generations, ensuring everyone feels connected to their roots.
Let’s Gather Our Ingredients
Here’s what you’ll need to make these delightful dinner rolls:
- 1 cup whole milk: Provides richness and moisture for the dough.
- ½ cup water: Balances the liquid content for the perfect dough consistency.
- 3 tablespoons granulated sugar: Activates the yeast and adds a hint of sweetness.
- 2 ¼ teaspoons active dry yeast: The star ingredient that helps the rolls rise.
- 1 ½ teaspoons salt: Enhances flavor and controls yeast activity.
- 1 large egg: Adds richness and helps bind the ingredients together.
- 4 ½ cups all-purpose flour: Forms the base of the dough, providing structure.
- 4 tablespoons unsalted butter: Adds flavor and tenderness to the rolls.
- 1 tablespoon melted butter: For brushing on top of the rolls for that beautiful golden finish.
Steps to Create Your Perfect Dinner Rolls
Follow these steps to whip up your homemade dinner rolls:

★ Recommended Kitchen Tool
Digital Kitchen Scale
Make this recipe even easier with a quality Digital Kitchen Scale — a must-have kitchen staple!
- Combine the milk and water in a microwave-safe container and heat until lukewarm (110-115°F). This temperature is perfect for activating the yeast without killing it.
- Pour the warm milk and water mixture into the bowl of a stand mixer. Add the sugar and sprinkle the yeast on top. Let it sit for 5-10 minutes until it becomes foamy.
- Once foamy, add the salt, egg, and 4 cups of the flour. Mix on low speed with the paddle attachment until combined.
- Add the softened butter and mix until incorporated. Switch to the dough hook and knead on low speed for about 8 minutes until the dough is smooth and slightly sticky. Add more flour, a tablespoon at a time, if the dough is overly sticky.
- Transfer the dough to a lightly oiled bowl, cover with a clean kitchen towel, and let it rise in a warm place for 30 minutes to 1 hour until it doubles in size.
- Preheat your oven to 375°F. Lightly grease a 13×9-inch baking dish.
- Transfer the risen dough to a floured surface and knead a few times to release air bubbles. Divide the dough into 15 equal pieces.
- Shape each piece into a ball and place them in the prepared baking dish. Cover and let rise for another 20 minutes.
- Bake for 19-23 minutes, or until the tops are golden brown. Brush with melted butter immediately after baking.
- Serve warm and enjoy!
Expert Tips for Baking Success
Here are some pro tips to ensure your dinner rolls turn out perfectly every time:
- Yeast Quality: Always check the expiration date on your yeast. If you’re unsure, proof it by combining it with warm water and sugar. If it bubbles, it’s good to go!
- Flour Measurement: For the best results, avoid packing flour into your measuring cup. Instead, spoon it in and level it off for the most accurate measurement.
- Humidity Matters: If you live in a humid area, you may need to adjust the flour quantity slightly, as humidity can affect dough consistency.
- Warm Environment: Ensure your dough rises in a warm place. If your kitchen is chilly, consider placing it in an oven (turned off) with the light on.
- Slicing Rolls: Use a sharp knife or dough cutter to slice rolls for even baking and a clean look.
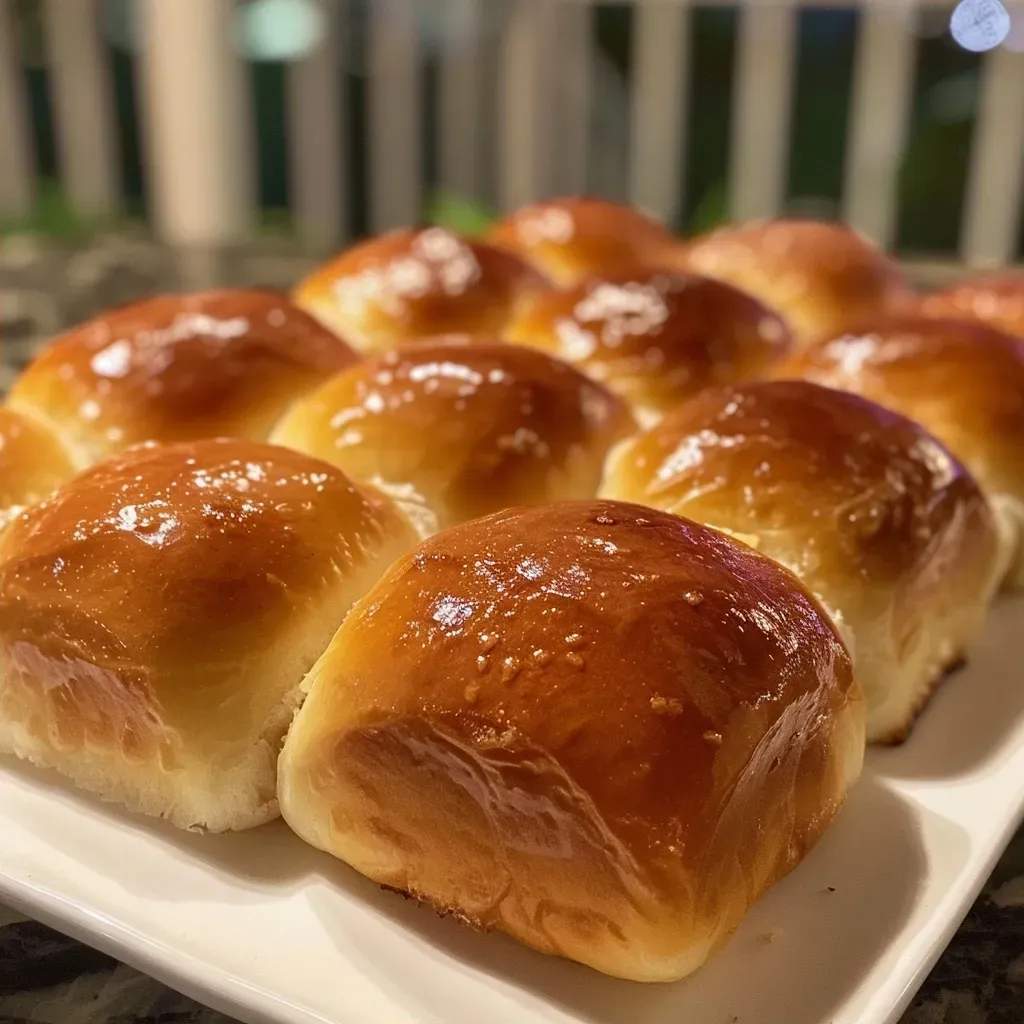
- Brushing with Butter: Brush the rolls with melted butter immediately after they come out of the oven for added richness and shine.
- Don’t Skip the Resting Time: Allowing the dough to rise adequately is crucial for fluffy rolls. Patience is key!
- Experiment with Flavors: Feel free to add herbs, garlic, or cheese for unique flavor variations.
Common Mistakes and How to Avoid Them
Even seasoned bakers can encounter hiccups. Here are some common pitfalls to watch for:
- Too Sticky Dough: If your dough is excessively sticky, it may lead to dense rolls. Add flour gradually until you reach the right consistency.
- Not Activating Yeast: If your rolls don’t rise, your yeast may not be active. Always proof before adding to the dough.
- Overbaking: Keep an eye on your rolls in the oven. They can go from golden brown to burnt quickly!
- Skipping the Kneading Step: Proper kneading develops gluten, which is essential for the rolls’ structure. Don’t rush this step!
Delicious Variations to Try
Want to switch things up? Here are some fun variations to tailor your dinner rolls:
- Garlic Butter Rolls: Add minced garlic and fresh herbs to the melted butter before brushing on top for a savory twist.
- Cheesy Rolls: Incorporate shredded cheese into the dough for a rich, cheesy flavor.
- Whole Wheat Rolls: Substitute half the all-purpose flour with whole wheat flour for a healthier option.
- Sweet Cinnamon Rolls: Add cinnamon and sugar to the dough for a sweet treat, perfect for breakfast!
Storage and Make-Ahead Instructions
These dinner rolls are best enjoyed fresh, but you can store leftovers:
- Storing: Keep rolls in an airtight container at room temperature for up to 3 days or in the refrigerator for up to a week.
- Freezing: Freeze baked rolls in a freezer-safe bag for up to 3 months. To reheat, thaw overnight and warm in a 350°F oven for 10 minutes.
- Make-Ahead: Prepare the dough up to the first rise, then refrigerate overnight. Allow it to come to room temperature before shaping and baking.
Frequently Asked Questions
Here are some common questions about making dinner rolls:
- Can I use instant yeast instead of active dry yeast?: Yes, you can use instant yeast. Just mix it directly with the dry ingredients without proofing.
- What can I do if my dough doesn’t rise?: Ensure your yeast is fresh and that your dough is in a warm environment.
- How can I make my dinner rolls fluffier?: Knead the dough well and ensure it rises properly. Adding a bit more fat can help too!
- Can I make these rolls gluten-free?: Yes! Use a 1:1 gluten-free flour blend and follow the instructions as usual.
- How do I know when the rolls are done baking?: They should be golden brown on top and sound hollow when tapped.
- Can I double this recipe?: Absolutely! Just ensure you have a large enough mixing bowl for the dough.
- What toppings can I use on my rolls?: Try sprinkling sesame seeds, coarse salt, or herbs on top before baking for added flavor.
- How long do leftovers last?: Stored properly, they can last up to 3 days at room temperature or a week in the fridge.
Nutritional Tips and Dietary Adaptations
This recipe can easily be adapted to meet various dietary needs:
- Low-Sugar Option: Reduce the sugar to 1 tablespoon for a less sweet roll.
- Vegan Adaptation: Substitute the egg with a flax egg and use plant-based milk and butter.
- Whole Grain Option: Incorporate whole wheat flour for added fiber and nutrients.
- Low-Carb Adaptation: Use almond or coconut flour for a low-carb version, adjusting the liquid content accordingly.
Equipment Recommendations
To make your baking experience smoother, here’s a list of helpful equipment:
- Stand Mixer: A stand mixer with a dough hook makes kneading effortless.
- Digital Thermometer: To check the temperature of your liquids and ensure perfect yeast activation.
- Measuring Cups and Spoons: Accurate measurements are key to successful baking.
- Baking Dish: A 13×9-inch pan is ideal for baking rolls evenly.
Serving Suggestions
These dinner rolls can elevate any meal. Here are some ideas:
- Perfect Pairing: Serve alongside your favorite roasted meats or hearty soups.
- Sandwich Creation: Slice open and fill with your favorite deli meats and cheeses for a delicious sandwich.
- Breakfast Treat: Top with jam or honey for a delightful breakfast option.
- Holiday Meals: Make them a staple at your holiday gatherings, pairing perfectly with turkey or ham.
Now, roll up your sleeves and get ready to bake these delightful dinner rolls! With each bite, you’ll not only enjoy the flavors but also cherish the memories created around the dinner table. Thank you for joining me on this culinary adventure—happy baking!
Dinner Rolls
Ingredients
Dough
- 1 cup milk (whole milk is best)
- ½ cup water
- 3 tablespoons granulated sugar
- 2 ¼ teaspoons active dry yeast (or one packet)
- 1 ½ teaspoons salt
- 1 large egg
- 4 ½ cups all-purpose flour
- 4 tablespoons unsalted butter (at room temperature, cut into cubes)
- 1 tablespoon melted butter (for brushing on rolls after baking)
Instructions
- Warm milk and water to 110-115°F, then combine in a bowl. Add sugar and yeast, let foam for 5-10 minutes.
- Add salt, egg, flour, and softened butter. Mix until combined, then knead with a dough hook for 8 minutes until smooth.
- Let the dough rise in a greased bowl, covered, for 30-60 minutes until doubled in size.
- Divide dough into 15 pieces, shape into balls, and place in a greased baking dish. Let rise for 20 minutes.
- Preheat oven to 375°F. Bake rolls for 19-23 minutes until golden. Brush with melted butter and serve warm.